Polaroid Adventures: Part One
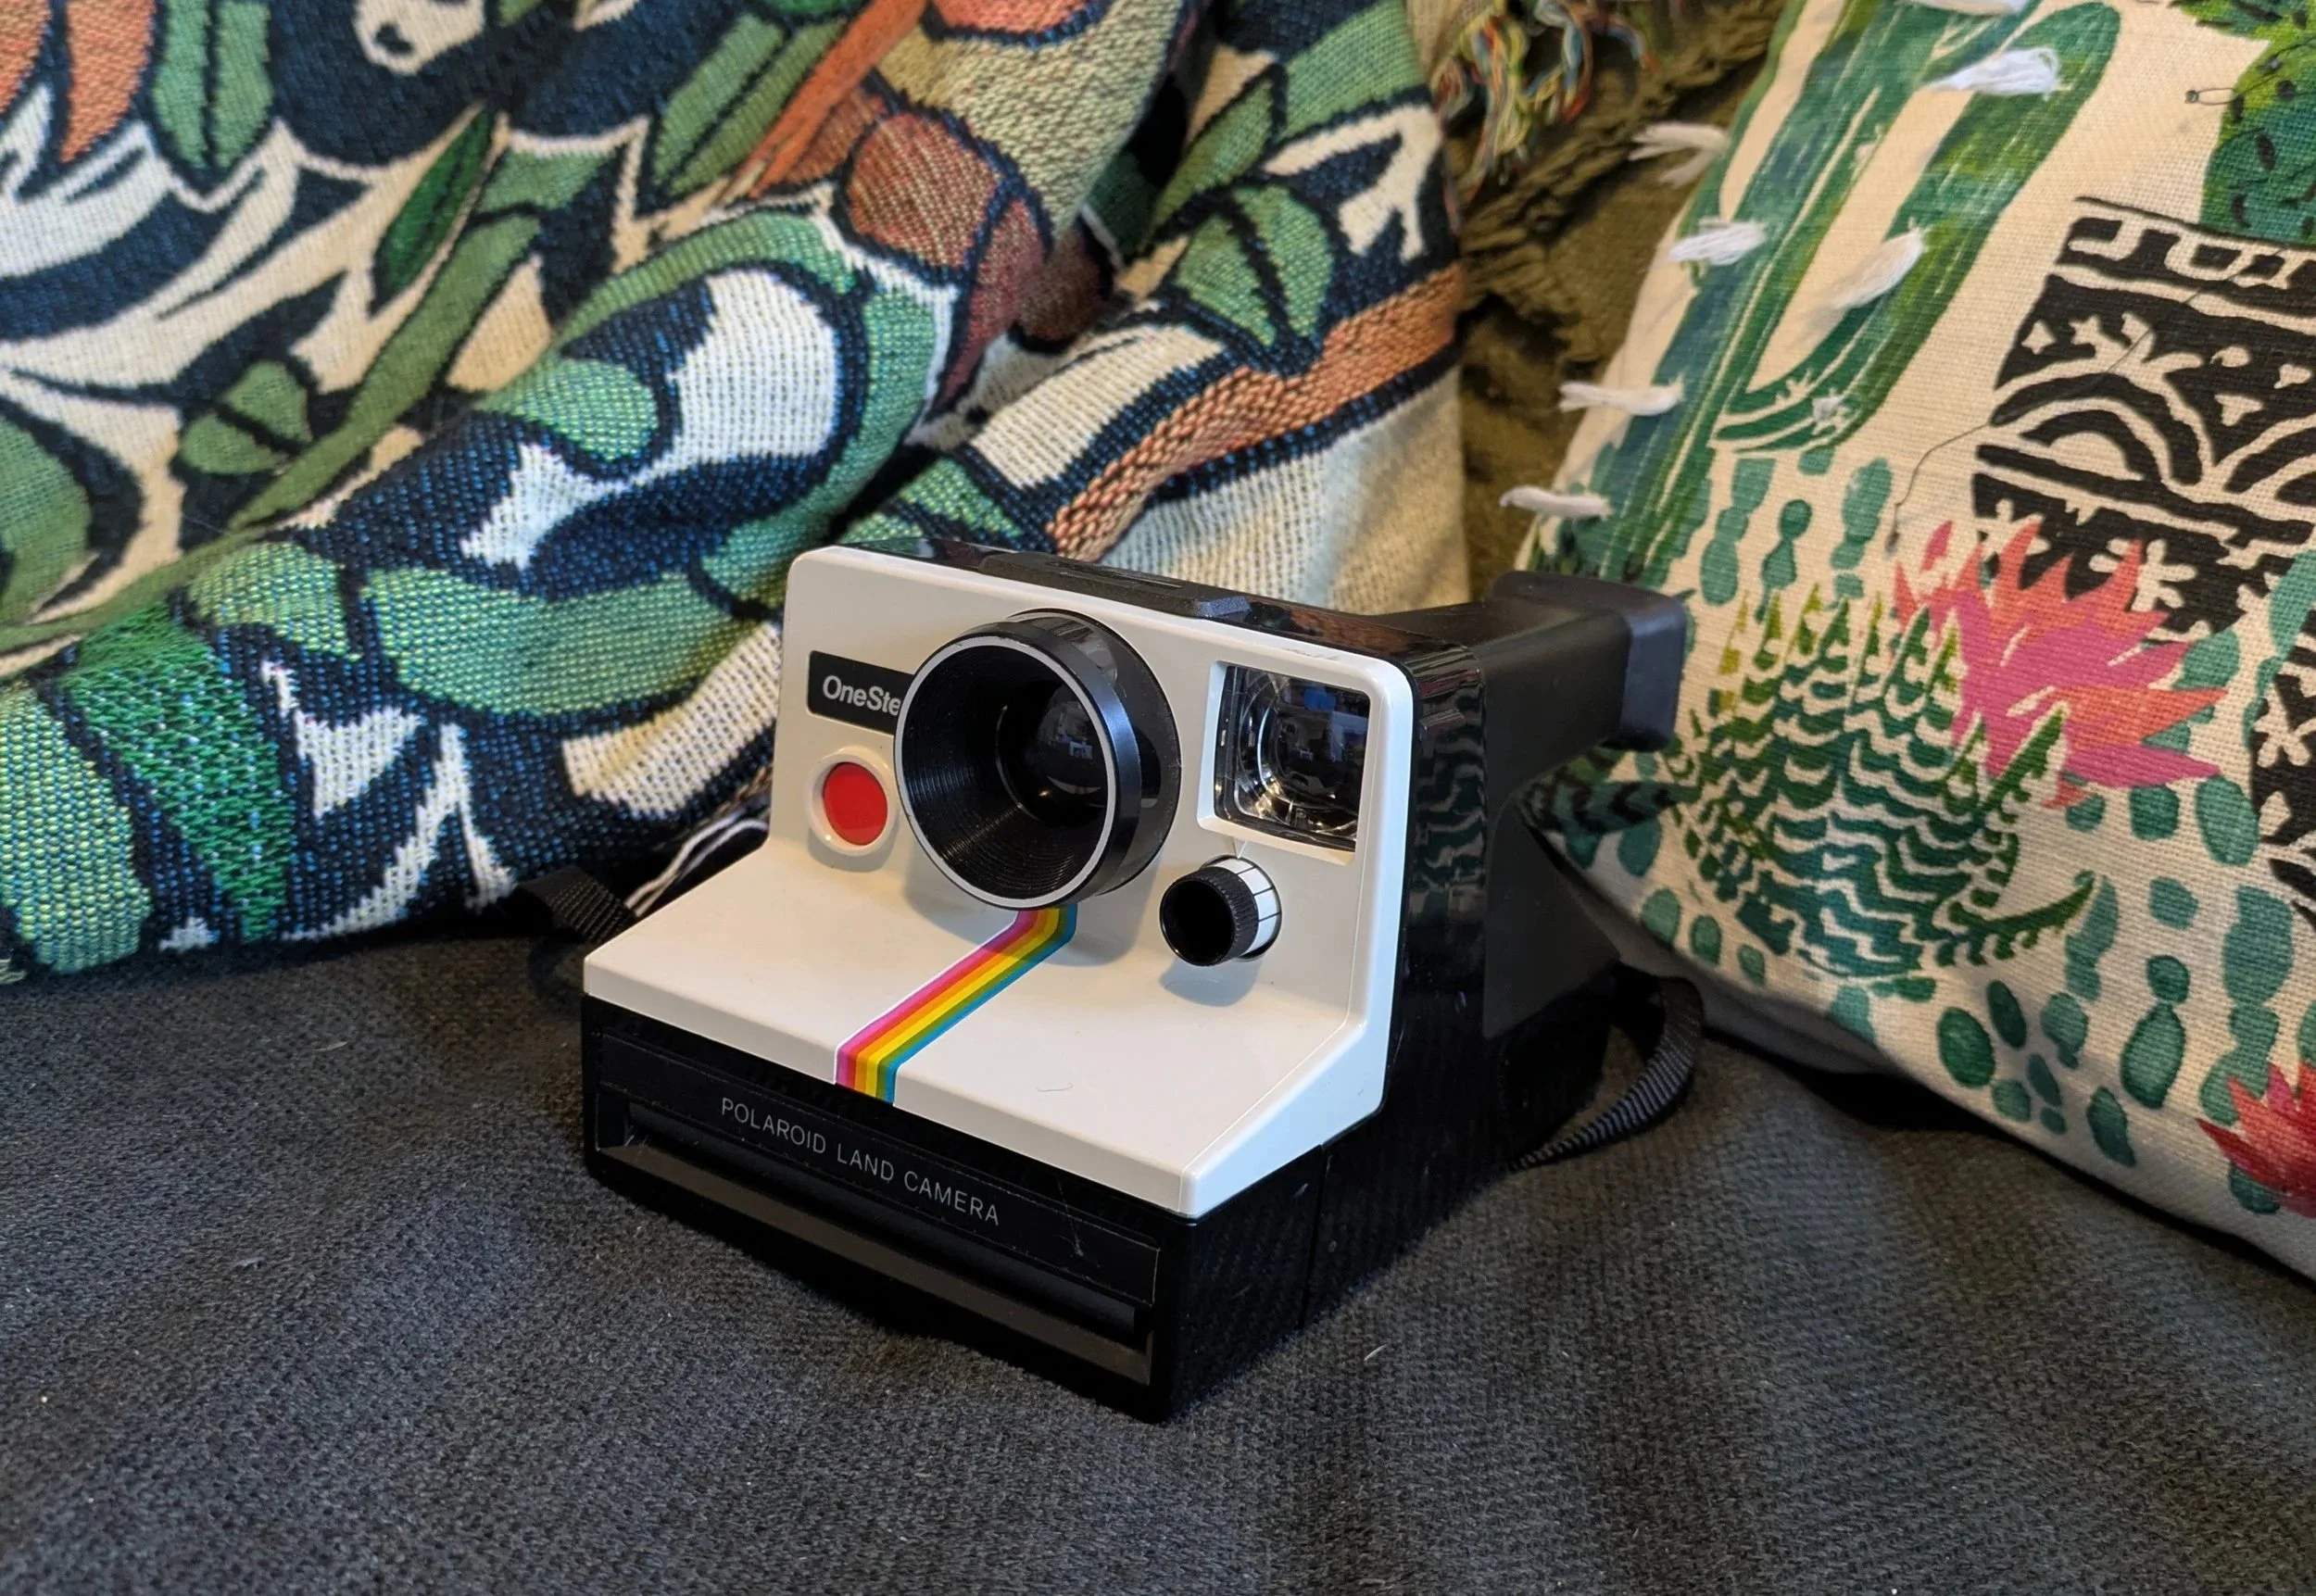
I received my first ever Polaroid camera for Christmas! It’s a Polaroid OneStep Land camera that takes 600 type film. I’ve always thought Polaroid was an iconic camera, and I’ve always loved their marketing design and branding. It’s the last type of camera that was on my wish list, at least for now.
Time to Learn!
I recognize there are plenty of resources out there that detail how to use this camera that I could read. But I don’t want to. I think trial and error is more fun! Join me as I discover what has already been discovered!
My first learning curve was figuring out the light meter. The dial has white marks on one side and dark marks on the other. I wasn’t sure if white meant that it takes more light and should be used in low light settings, or if it should be used in brighter settings.
I first tried testing it in my apartment. It seemed like it didn’t matter what setting I used, it was all underexposed the same amount. Then it occurred to me, it’s called a land camera, maybe its for landscapes. Since indoor light is always dimmer than I think it is, I would need to try it outdoors in natural sunlight.
I ended up doing very minimal research while writing this, and turns out, it’s called a land camera because it’s named after it’s inventor and cofounder, Edwin Land. It doesn’t have anything to do with landscapes. Instant film is typically low iso which need brighter light. Based on the photographs that turned out well, the camera is set on a low aperture/high f-stop, which also needs more light. My logic was wrong, but thanks to serendipitous luck, I was headed in the right direction.
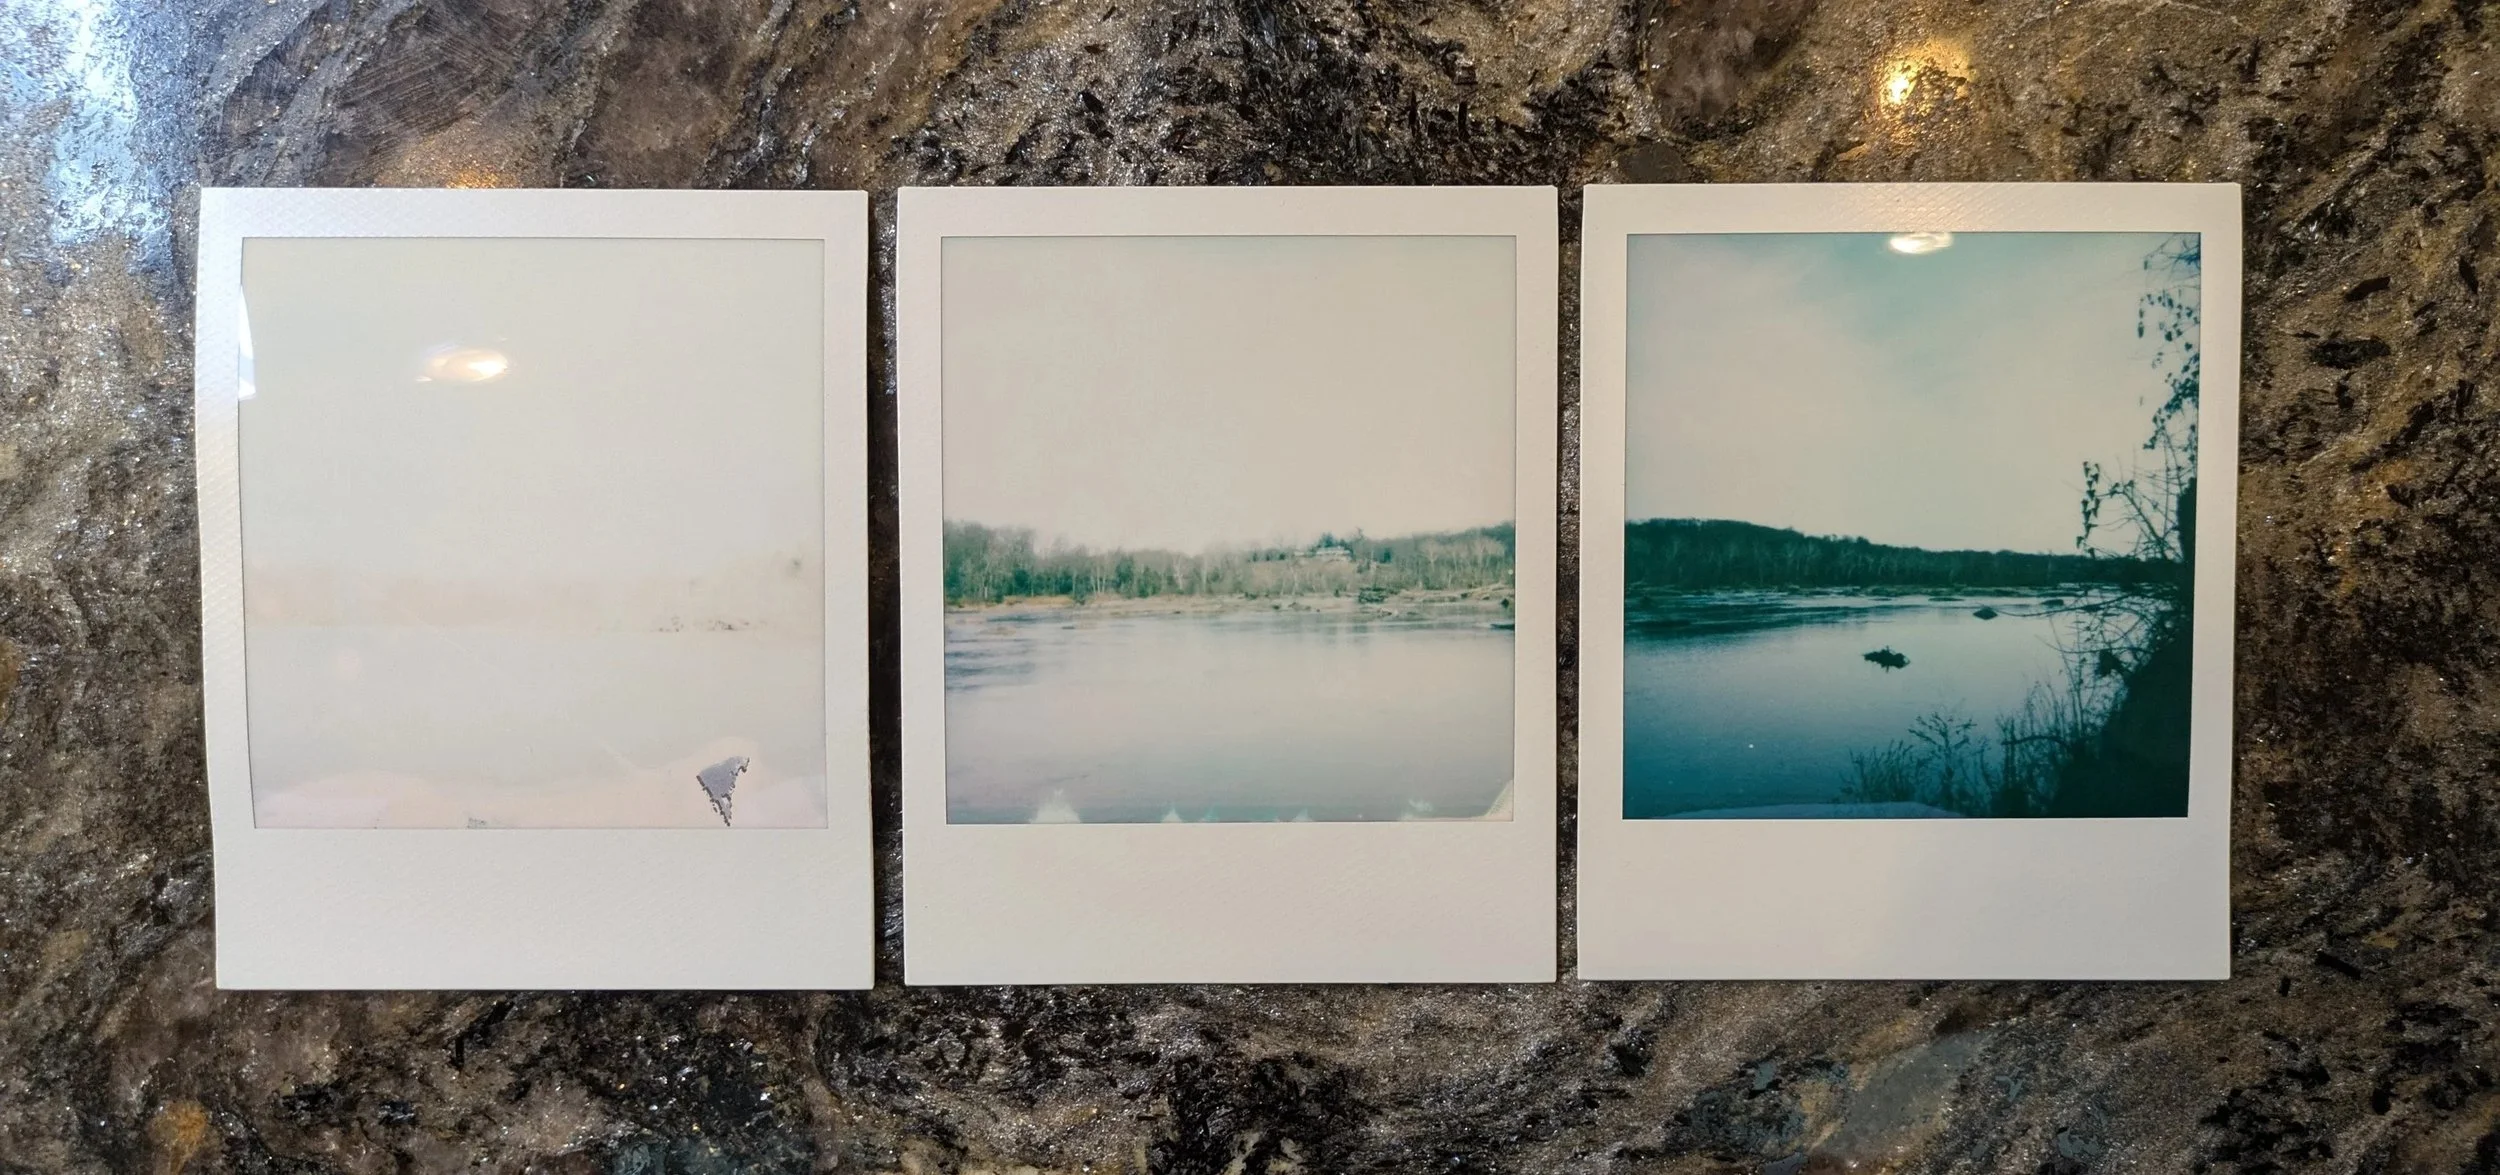
Down to the river! The picture above is a sort of panoramic of the river. The three photos were taken across the horizon of the river. The far left photo was with the light meter on the furthest light setting on the light meter. The middle was we the light meter in the center. The far right photo was on the furthest dark meter. Based on this, the lightest setting has the lowest shutter speed, letting in the most light. The darkest setting the highest shutter speed letting in the least amount of light. The day was a bit overcast, but fairly bright out. I was surprised at how far on the dark setting I needed to be to get the best exposure.
It feels weird to meter without set numbers or any sort of indicator. The light meter is the only adjustable feature of this camera. Some models have adjustable aperture and allow you to focus the lens, but this one is completely fixed. The lack of adjustments almost makes it harder. I have to work around the camera, rather than make the camera work for me.
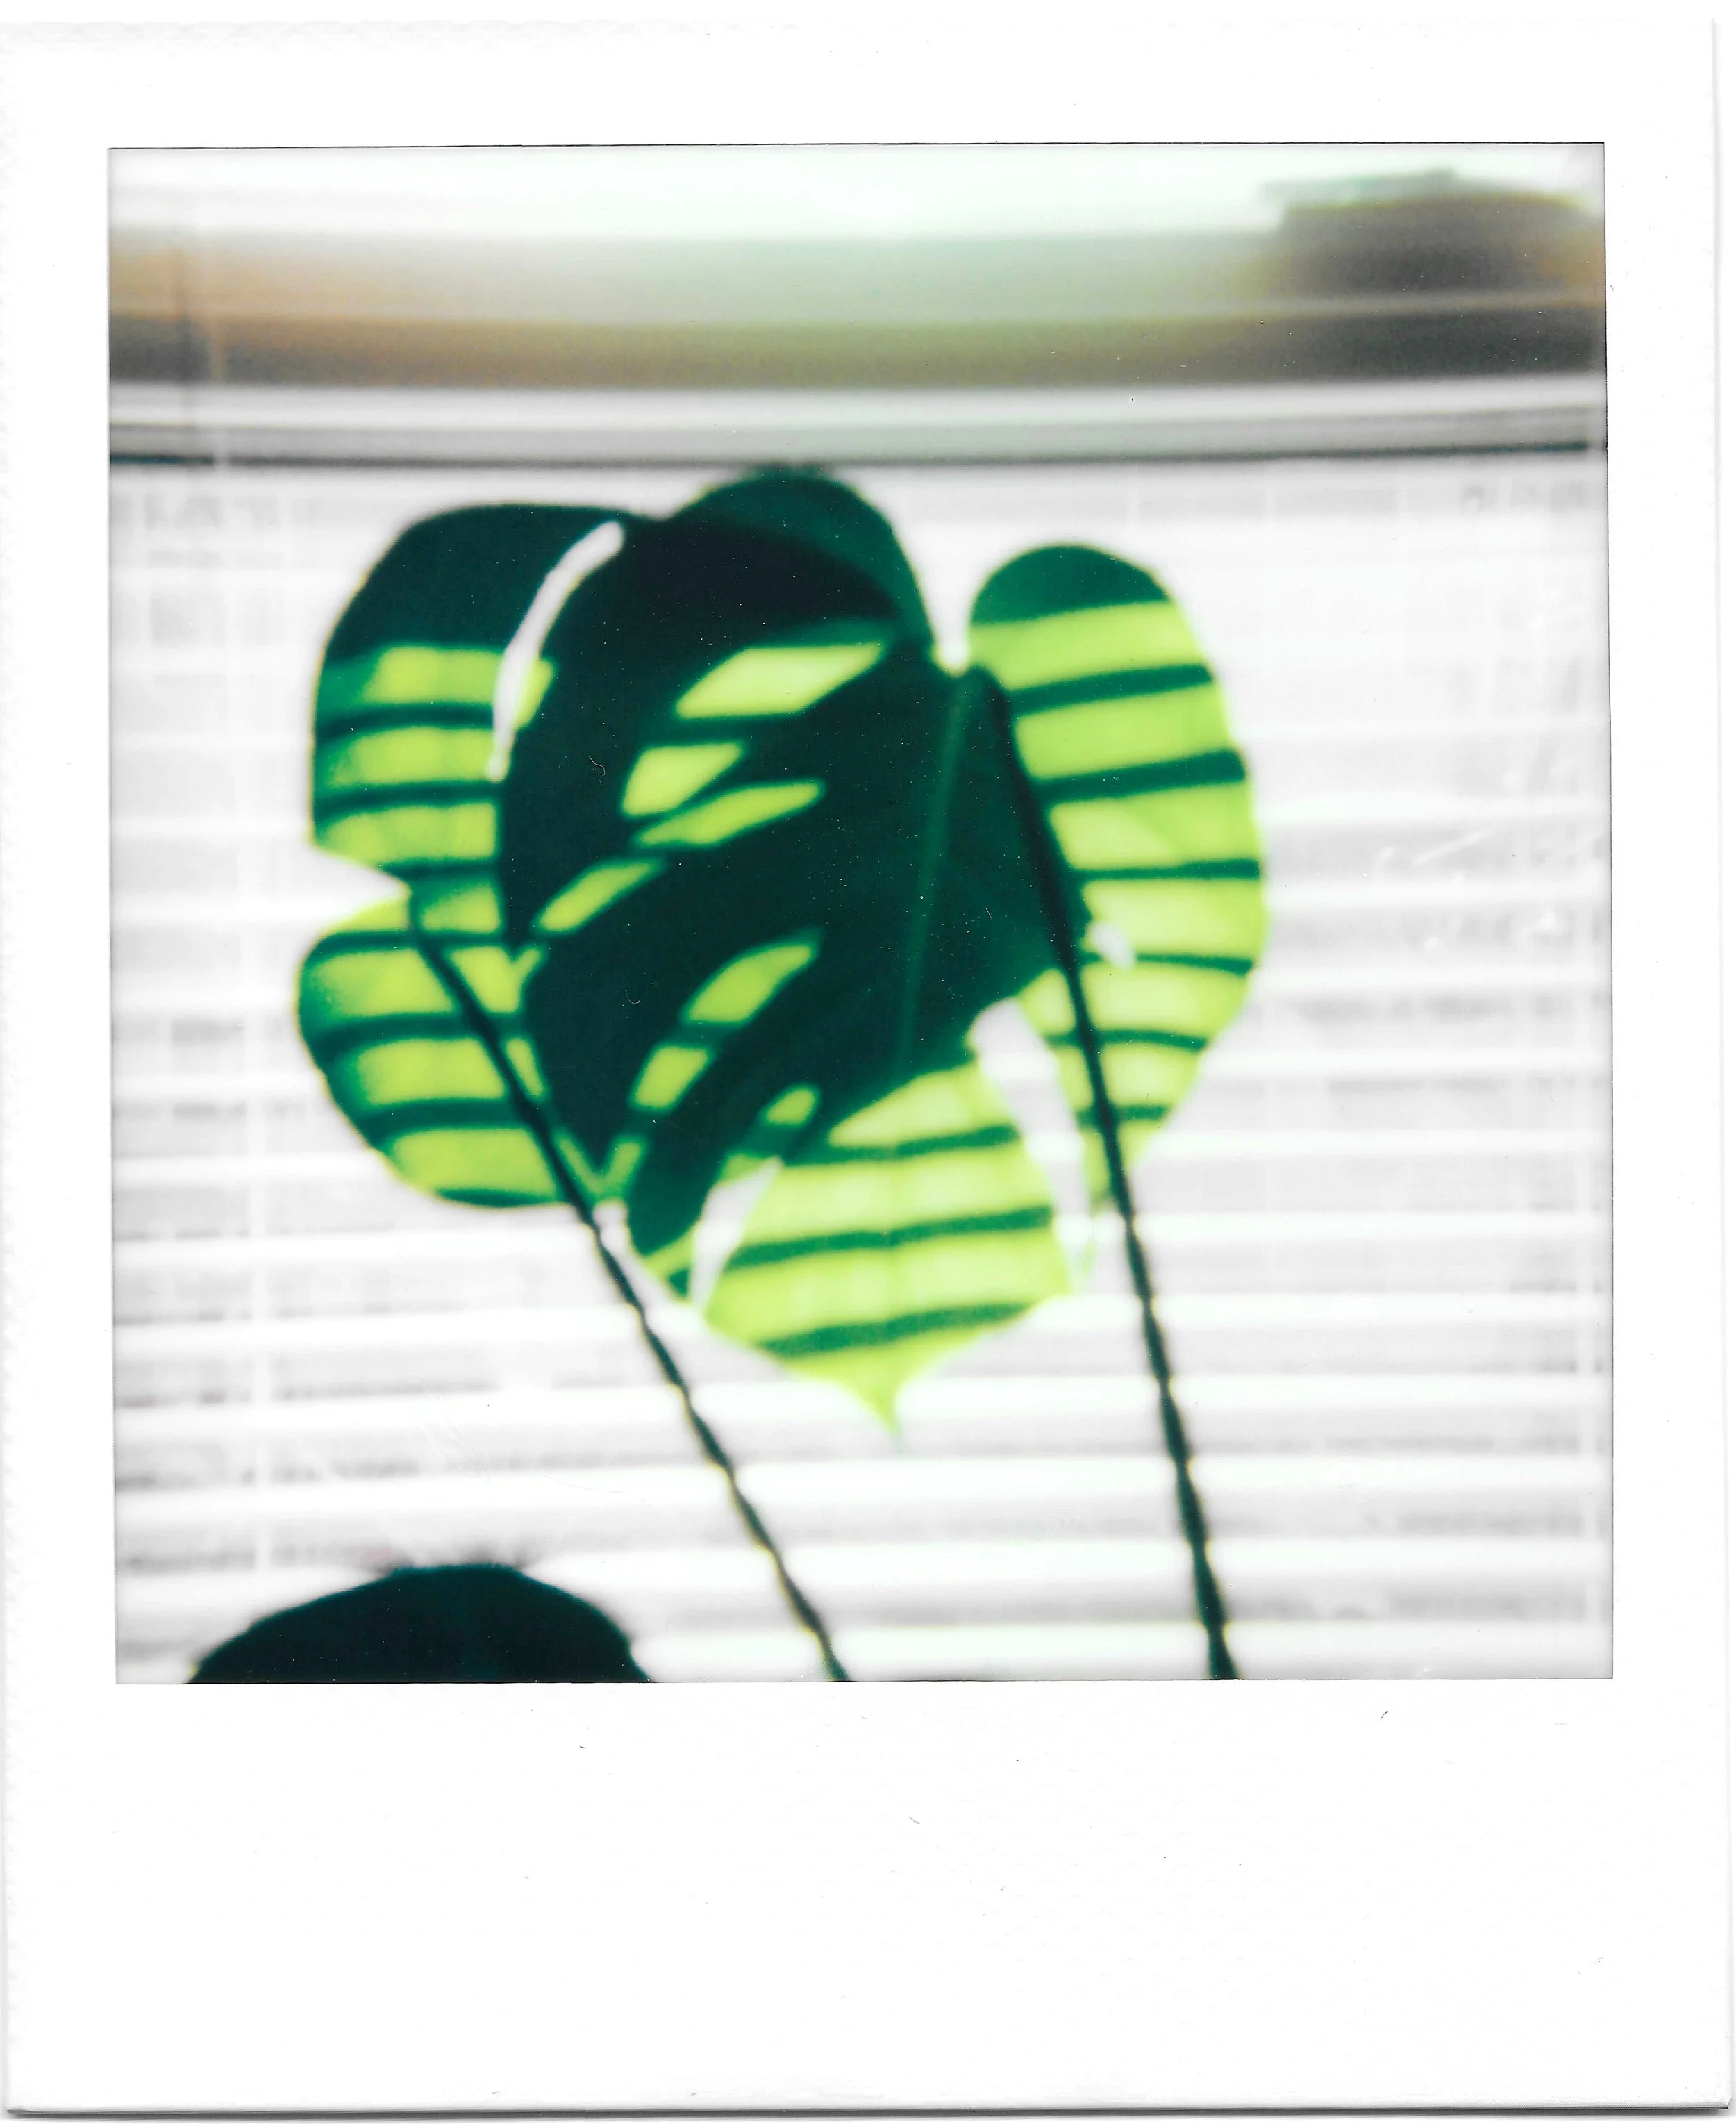
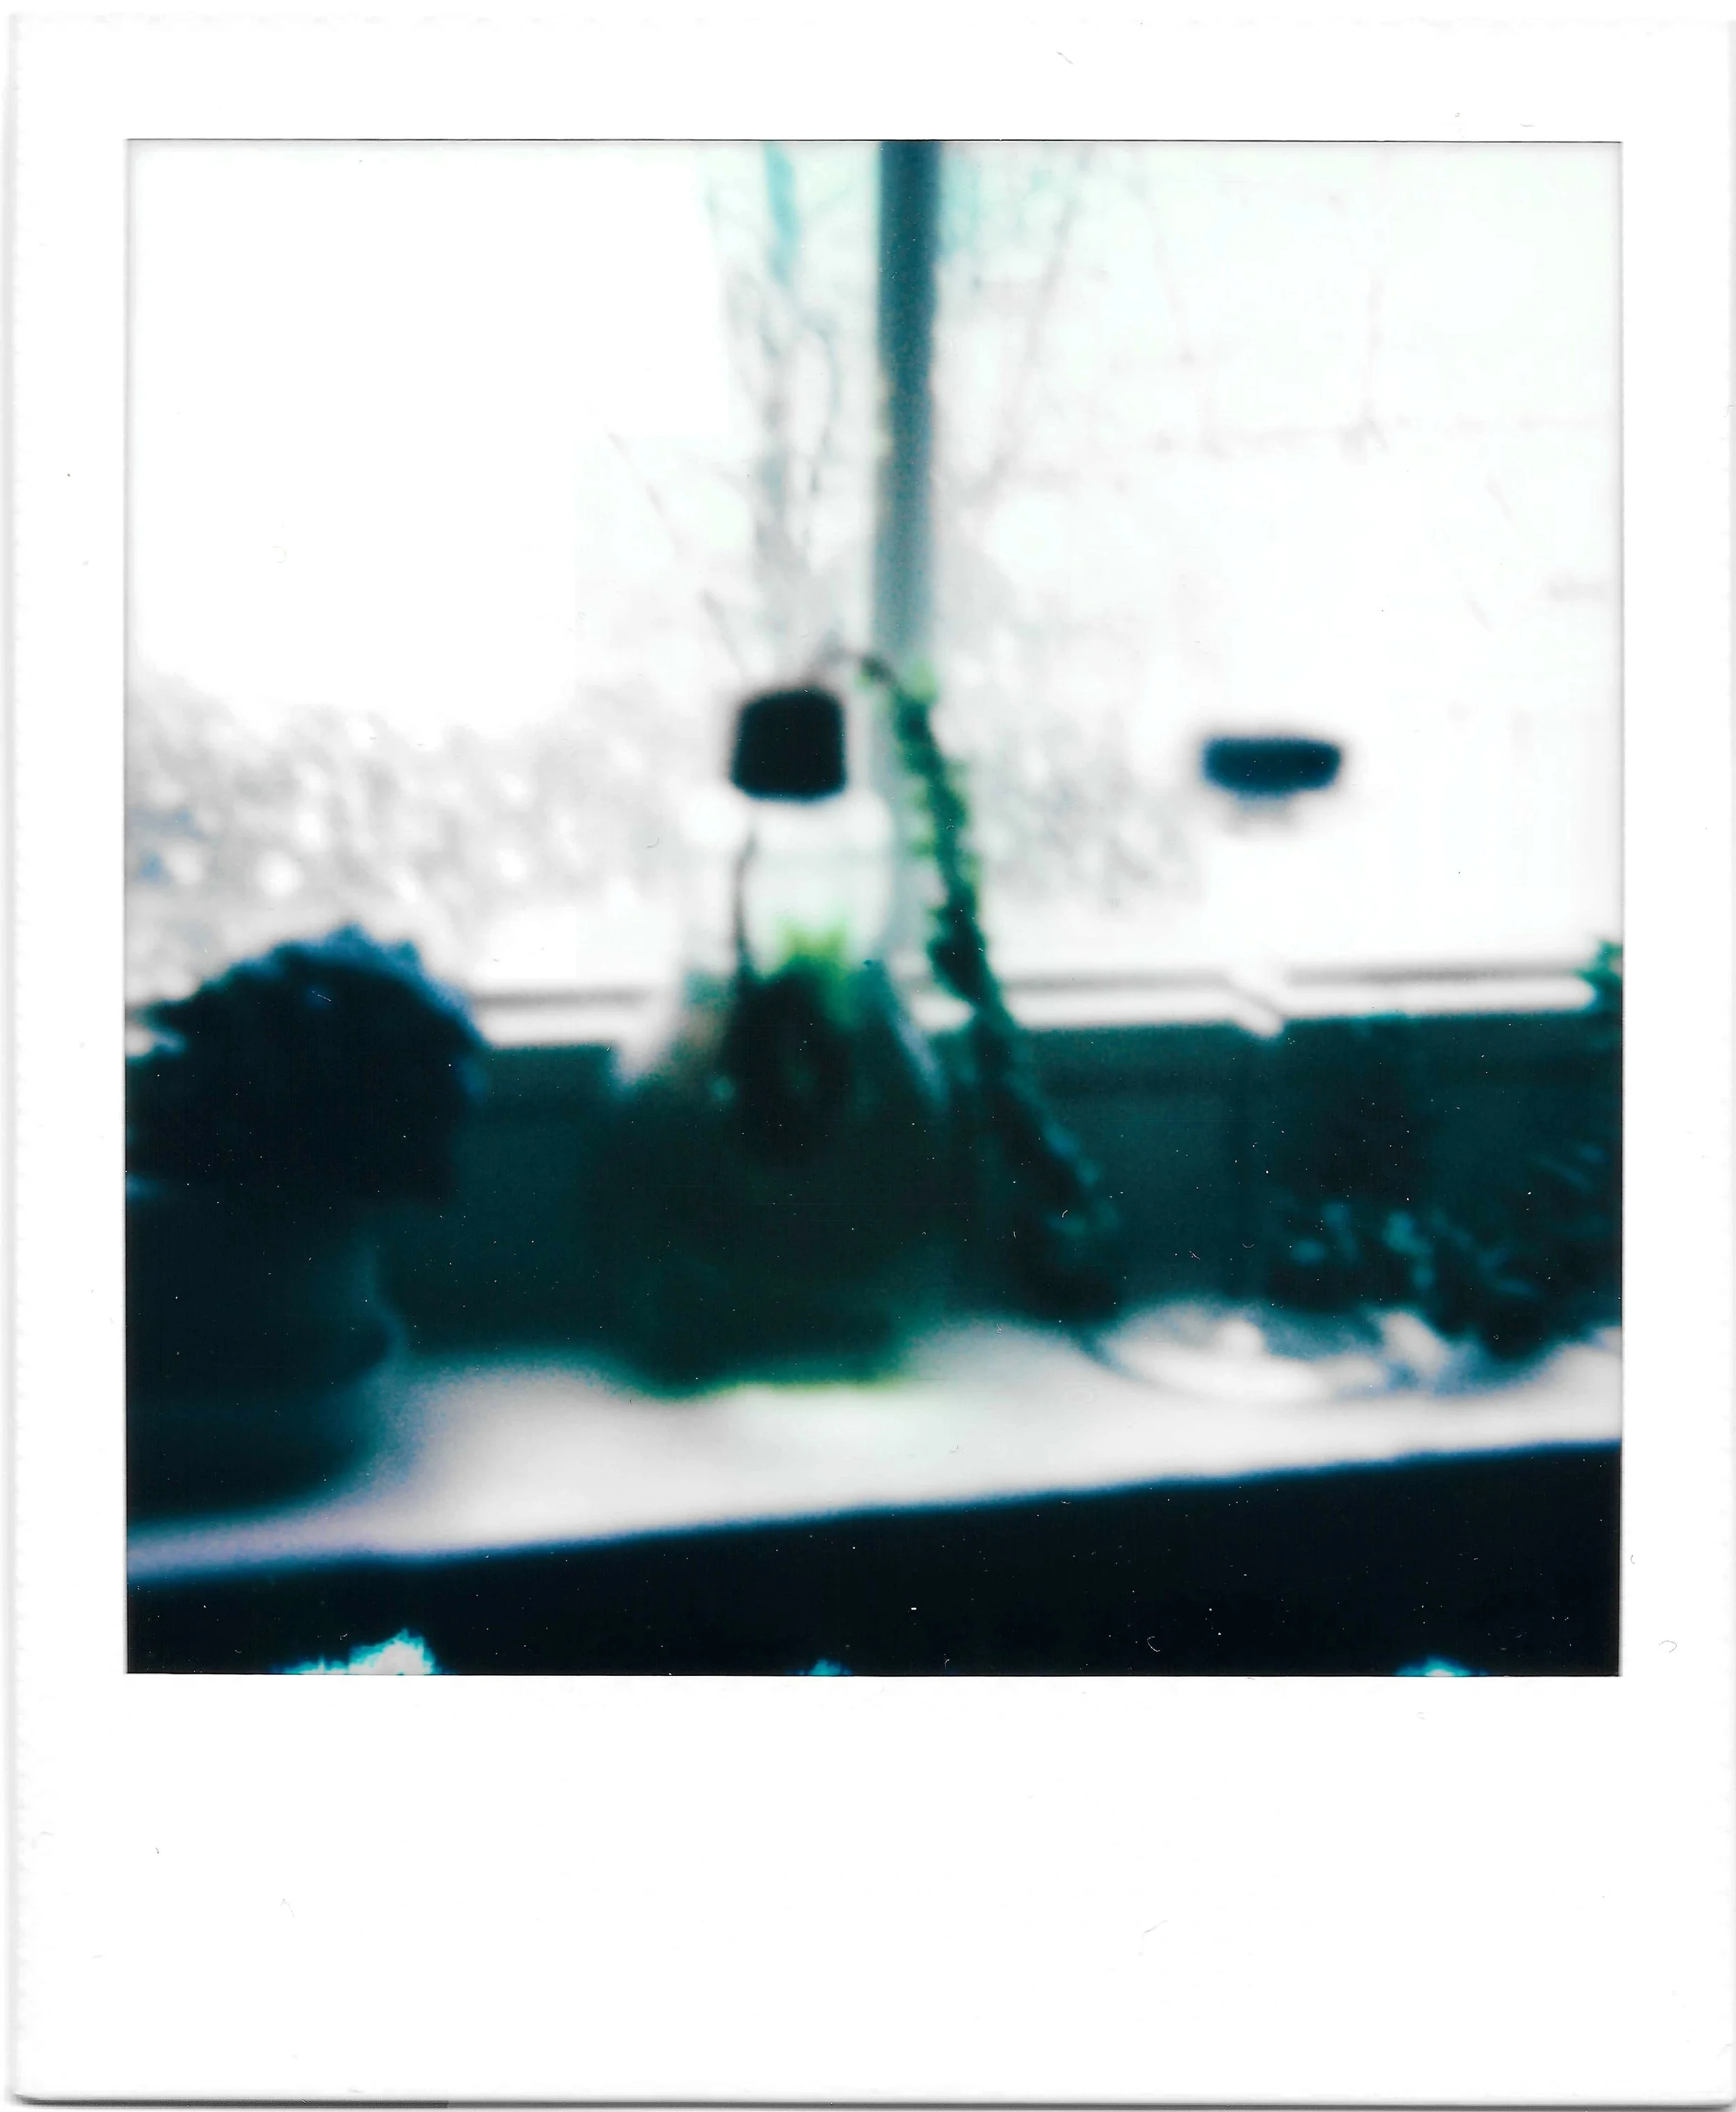
I kept playing around with the camera in my apartment. The only ones that turned out well were the ones pointed toward a window. The shutter speed on the lighter settings are so slow that even if the exposure is right, it’s too blurry for my taste. I took a bunch of photos that aren’t worth sharing. It can’t focus on anything close up, but I like the soft focus look of some of the photos. I also love a backlit plant photo!
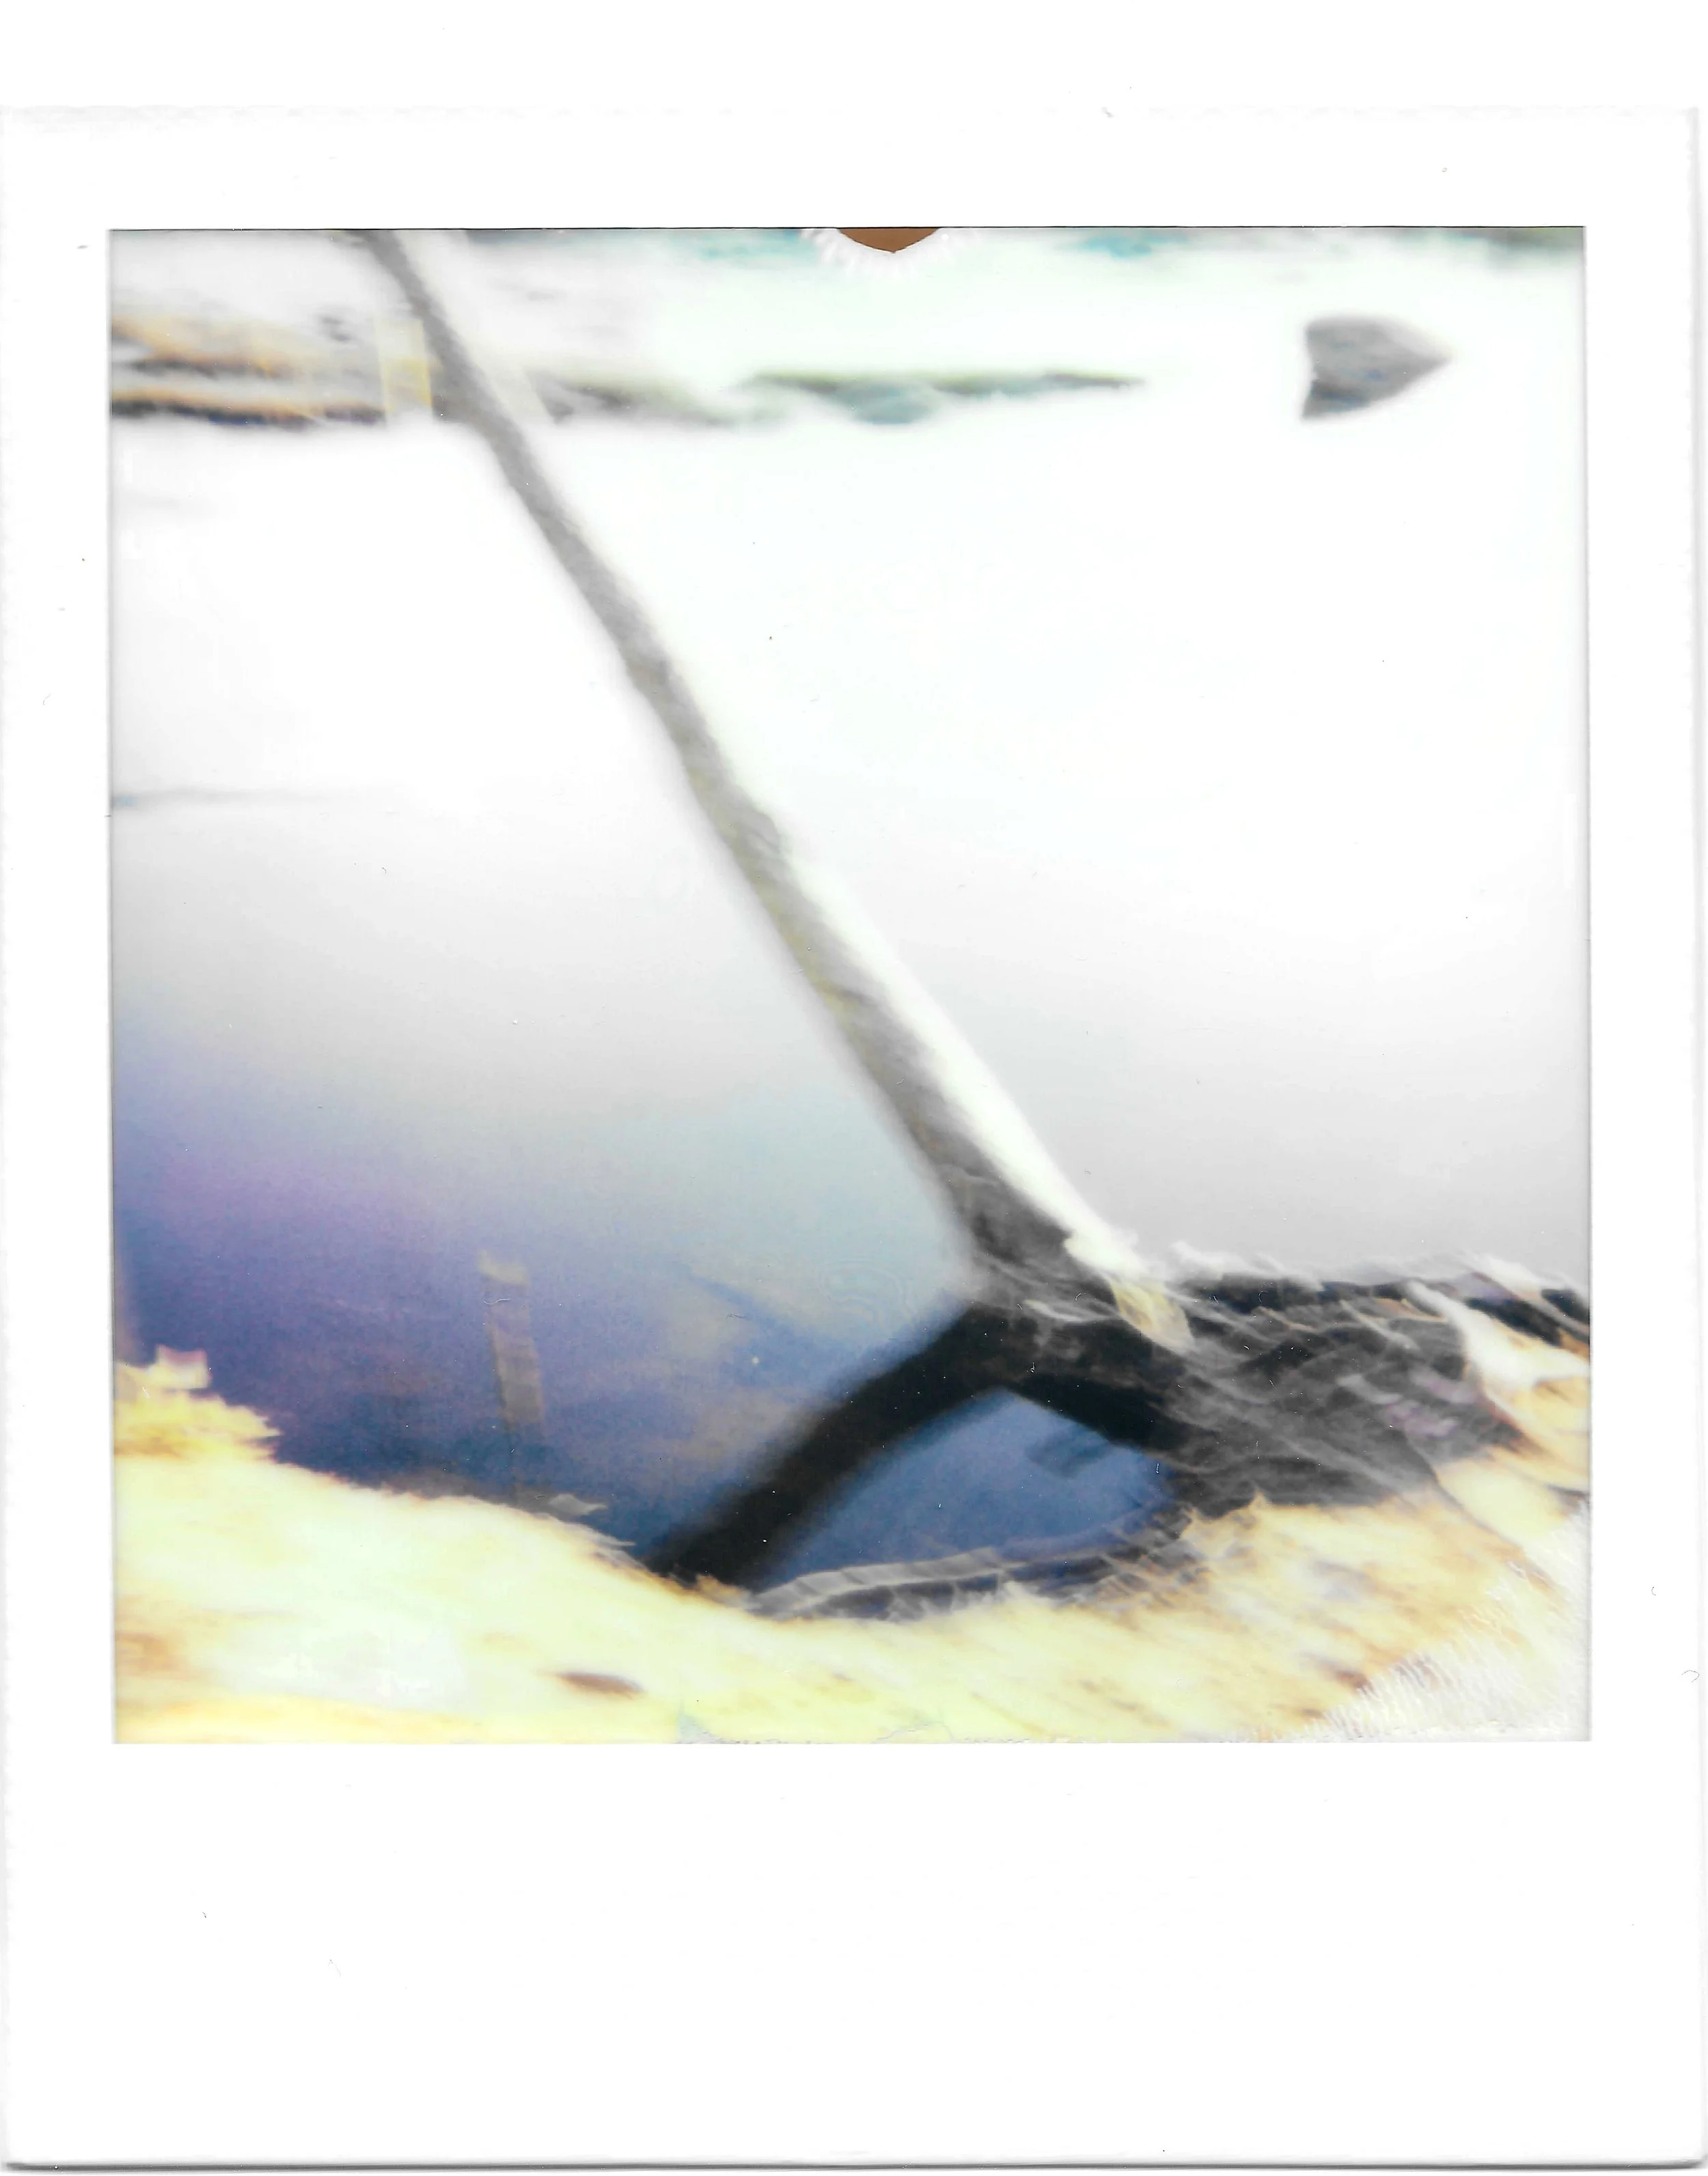
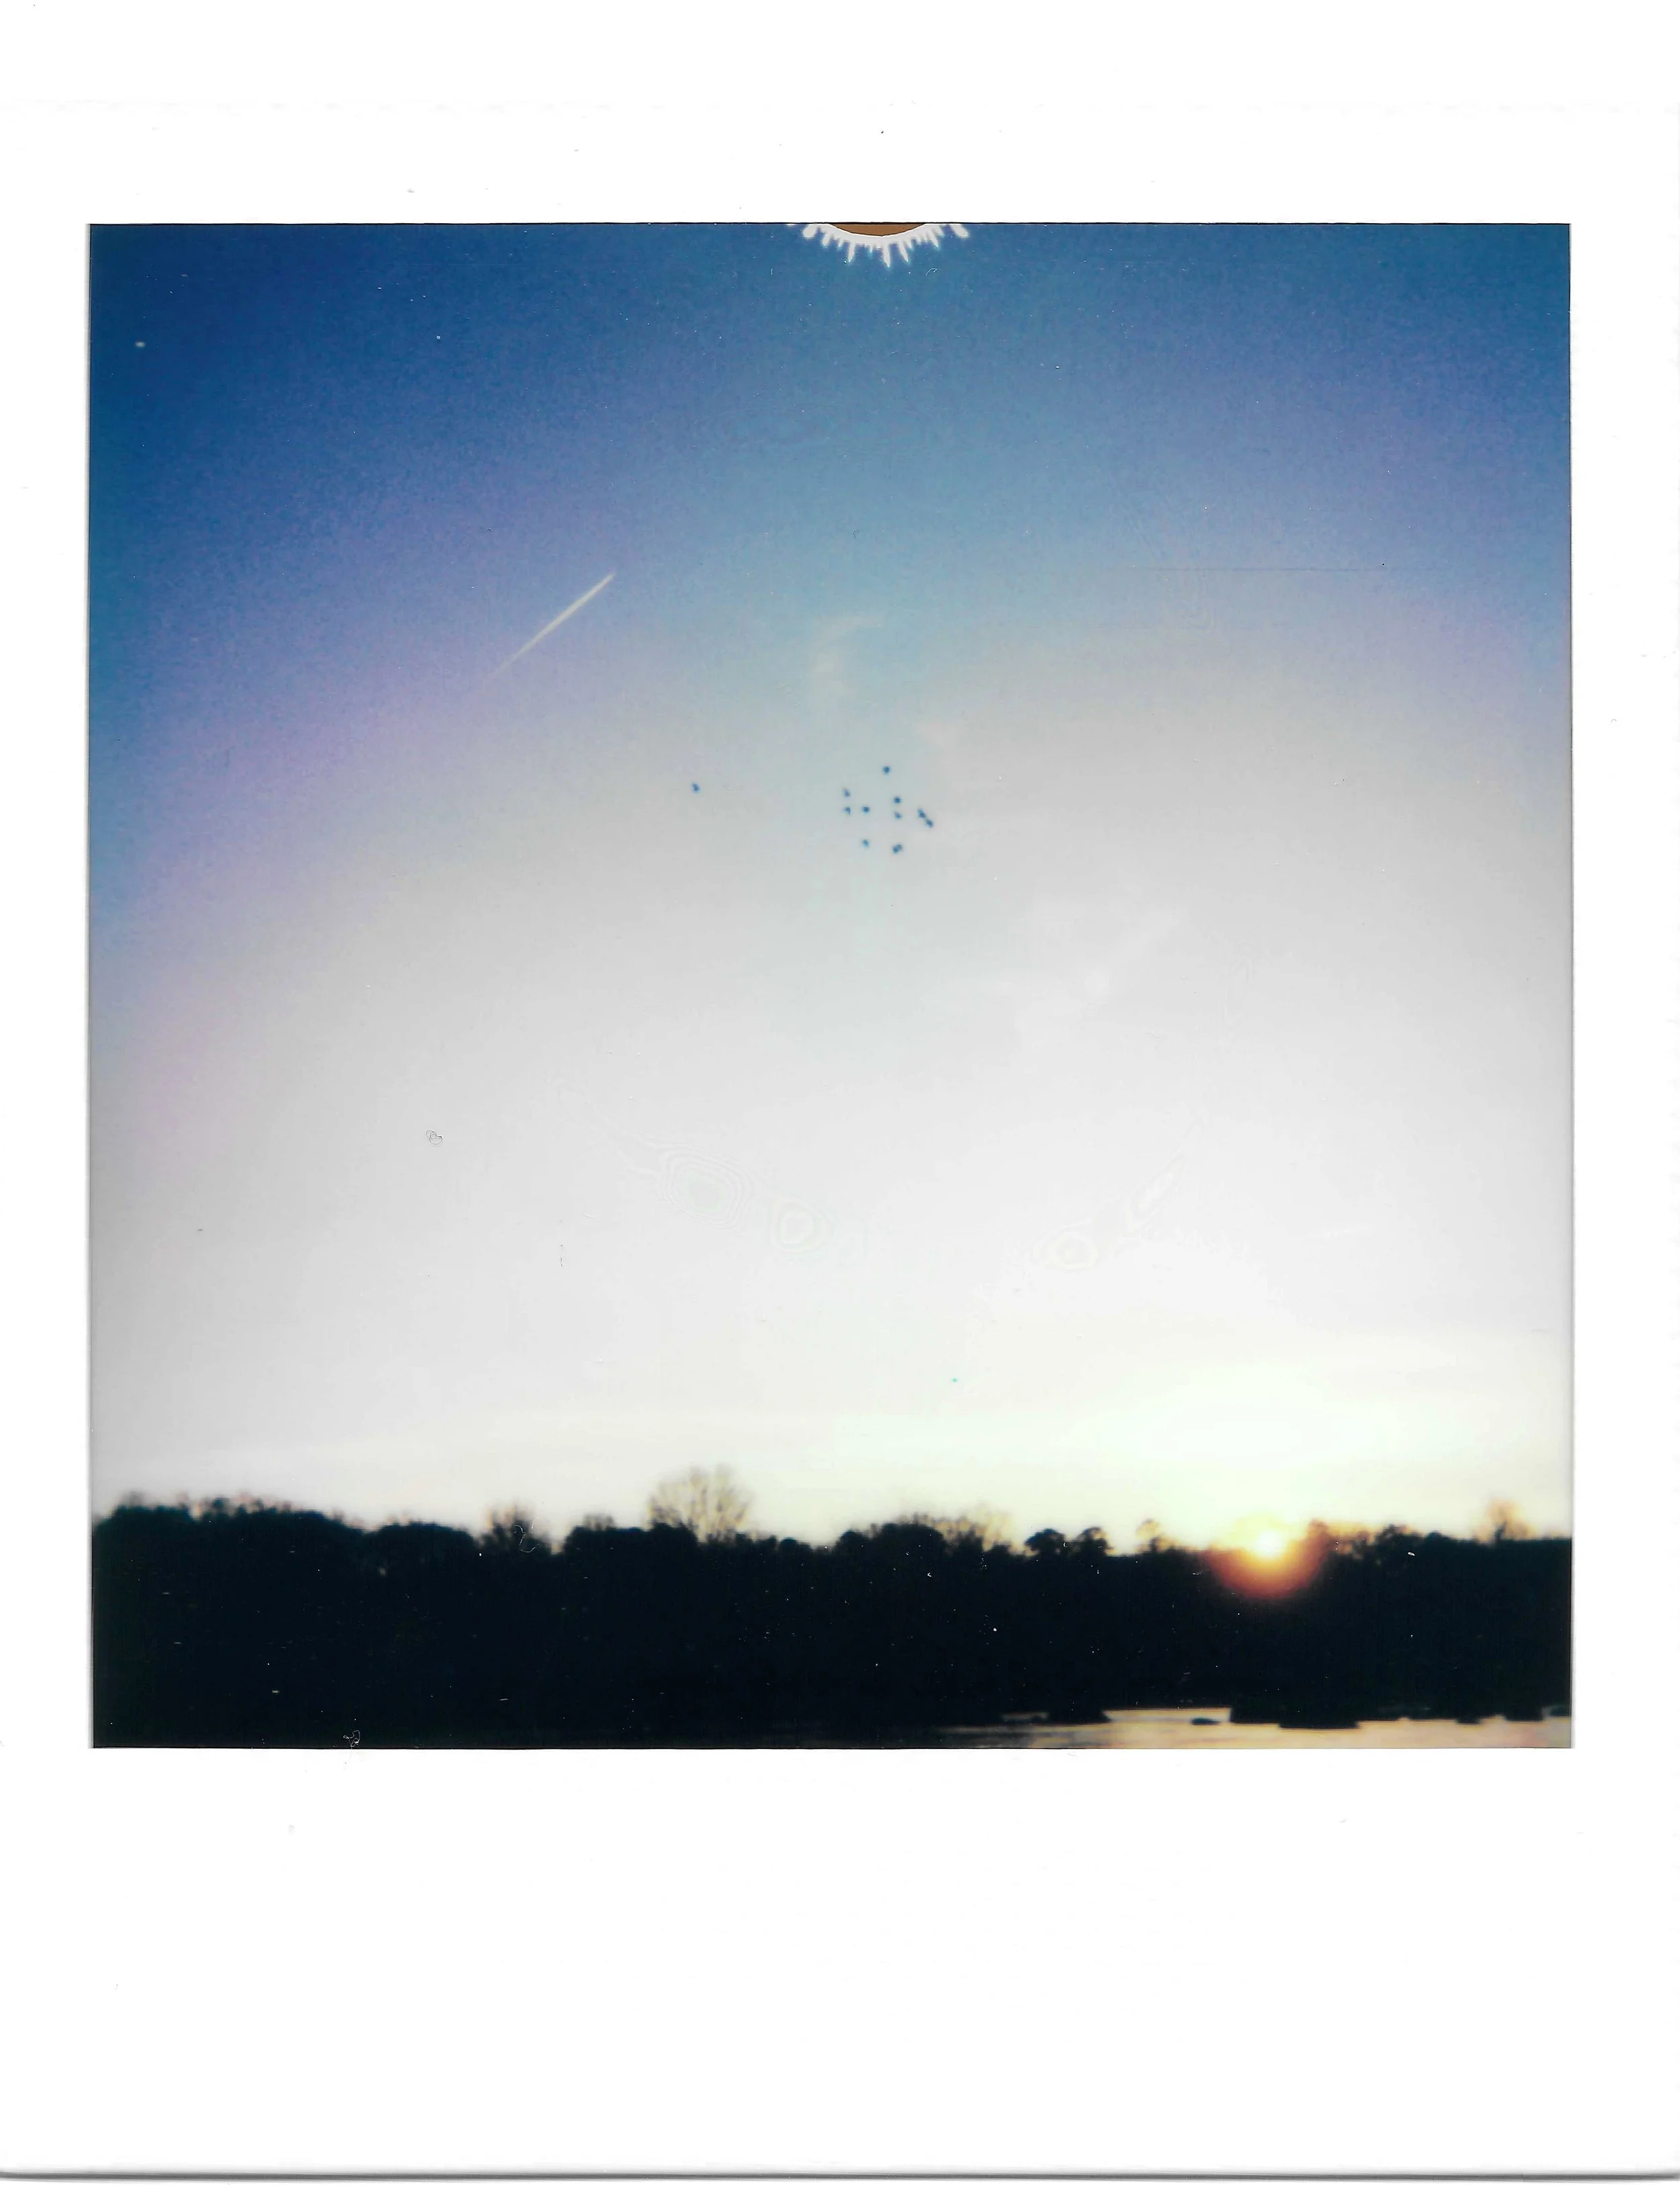
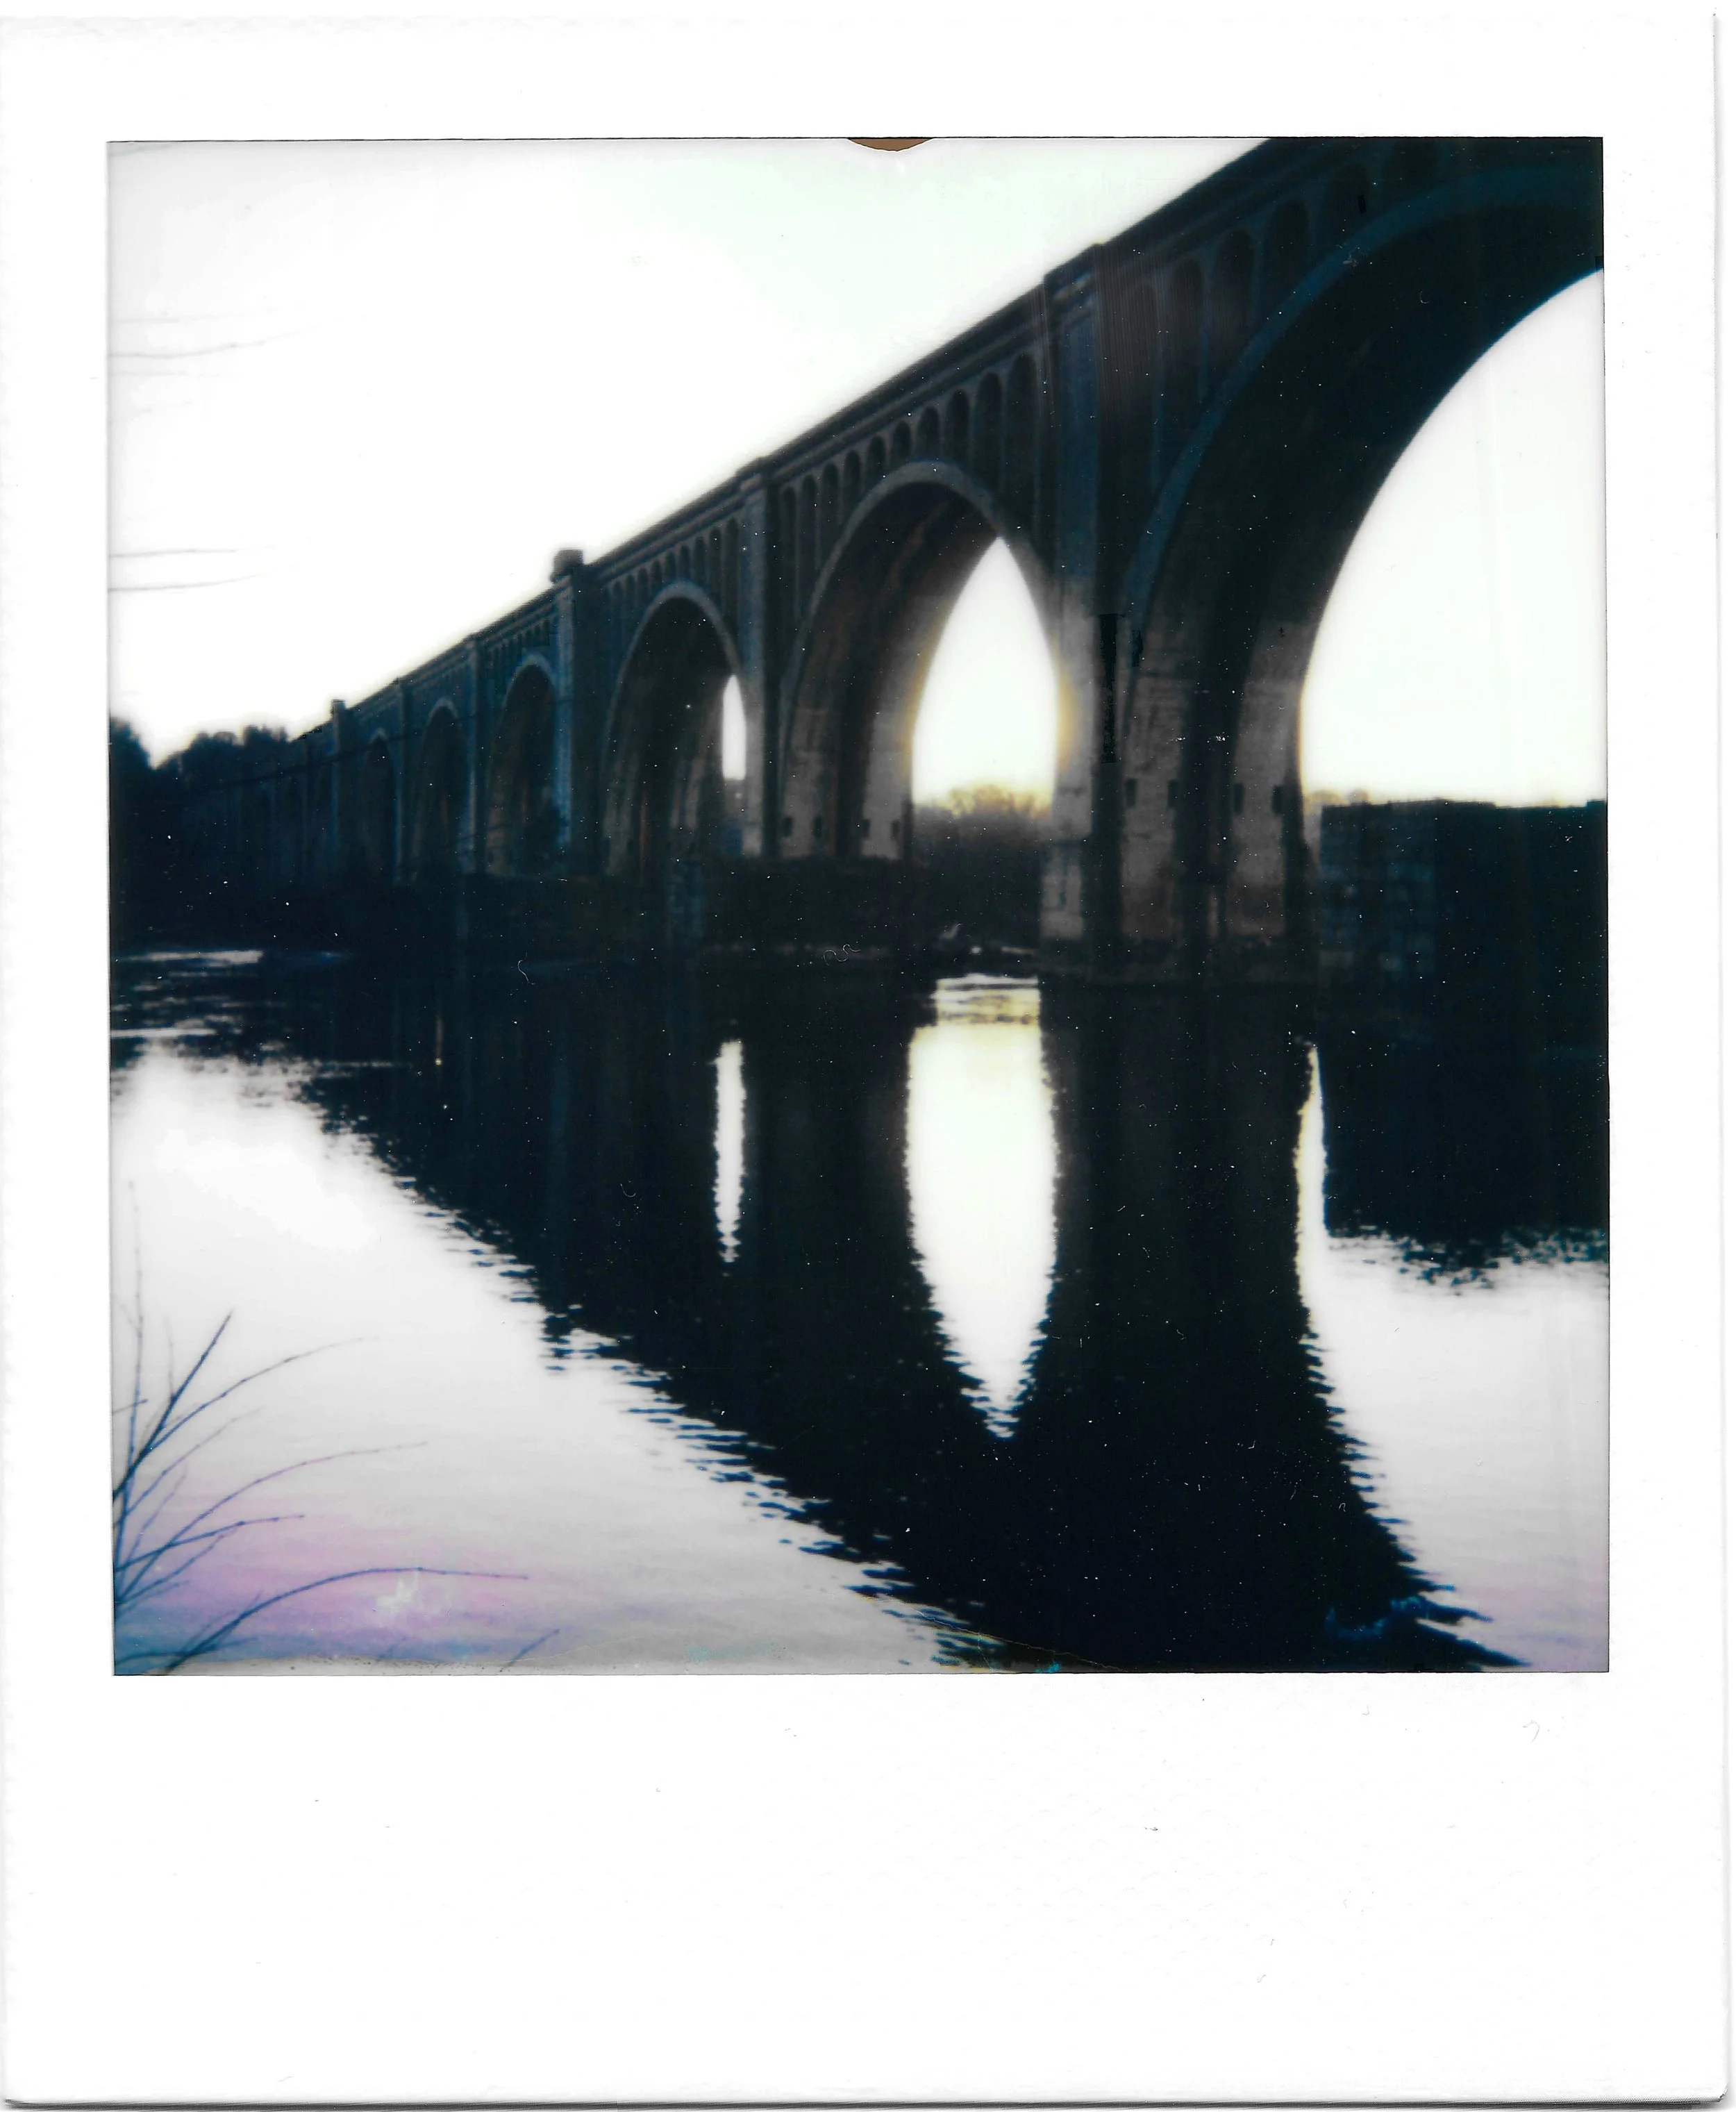
After burning through more film packs than I’d like to admit, I finally accepted that this is an outdoor camera. Back we go to the river! Gray and I went on a walk on the North Bank trail. I was trying to find the right light meter setting. Anything on the light part of the meter came out too blurry. I tried to get a picture of a flock of birds and a plane flying through the air. It sort of showed up, if you look closely you can see it. I finally got exposure right as the sun was setting behind the bridge. Did I make a note of exactly where the meter was positioned? Nope! I think I remember though. Gray managed to get a picture of the train coming through while I was getting a video on my phone. There’s some interesting semi-circle artifacts on the polaroids. It’s either from when I was wrestling the film pack into my camera, or from sticking the film in my pocket to develop. The shot with the tiny flock of birds has some pressure marks as well. Those are definitely from sticking the film in my pocket to develop. I kind of like it! I think it adds to the film look. We got a nice walk in, some fun pictures, a sunset, and a visit from the train. A great evening in my book!
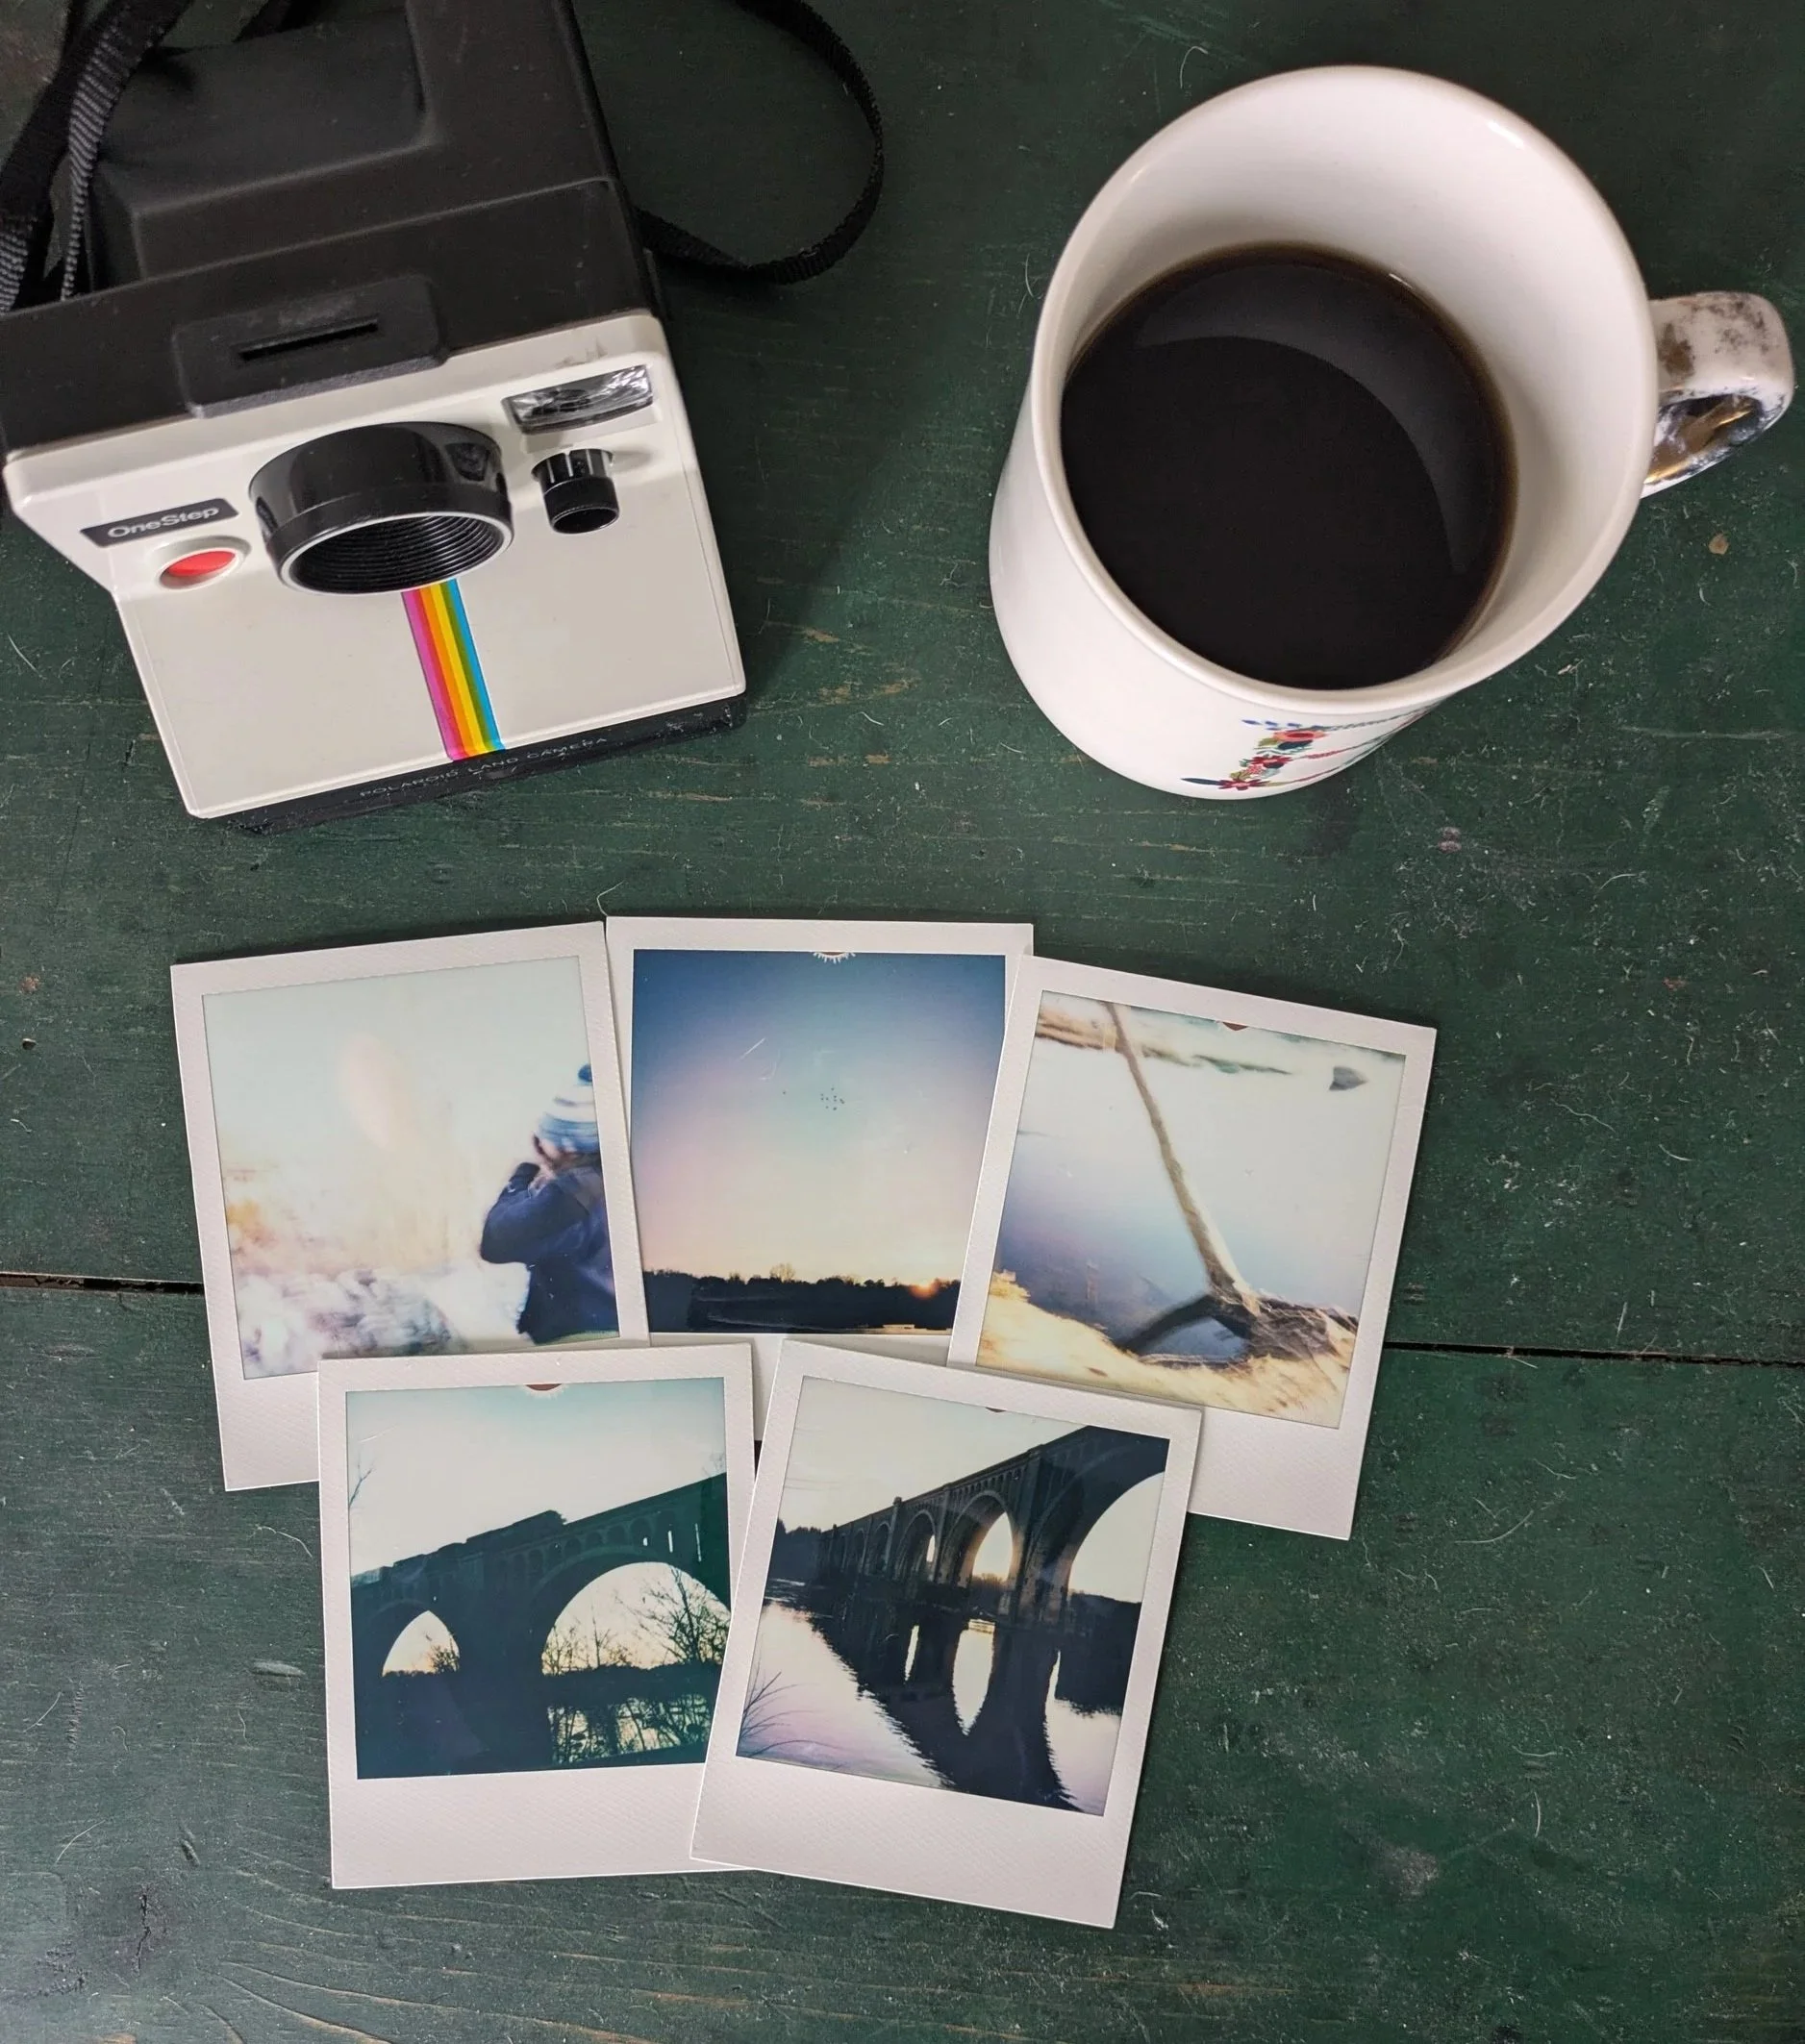
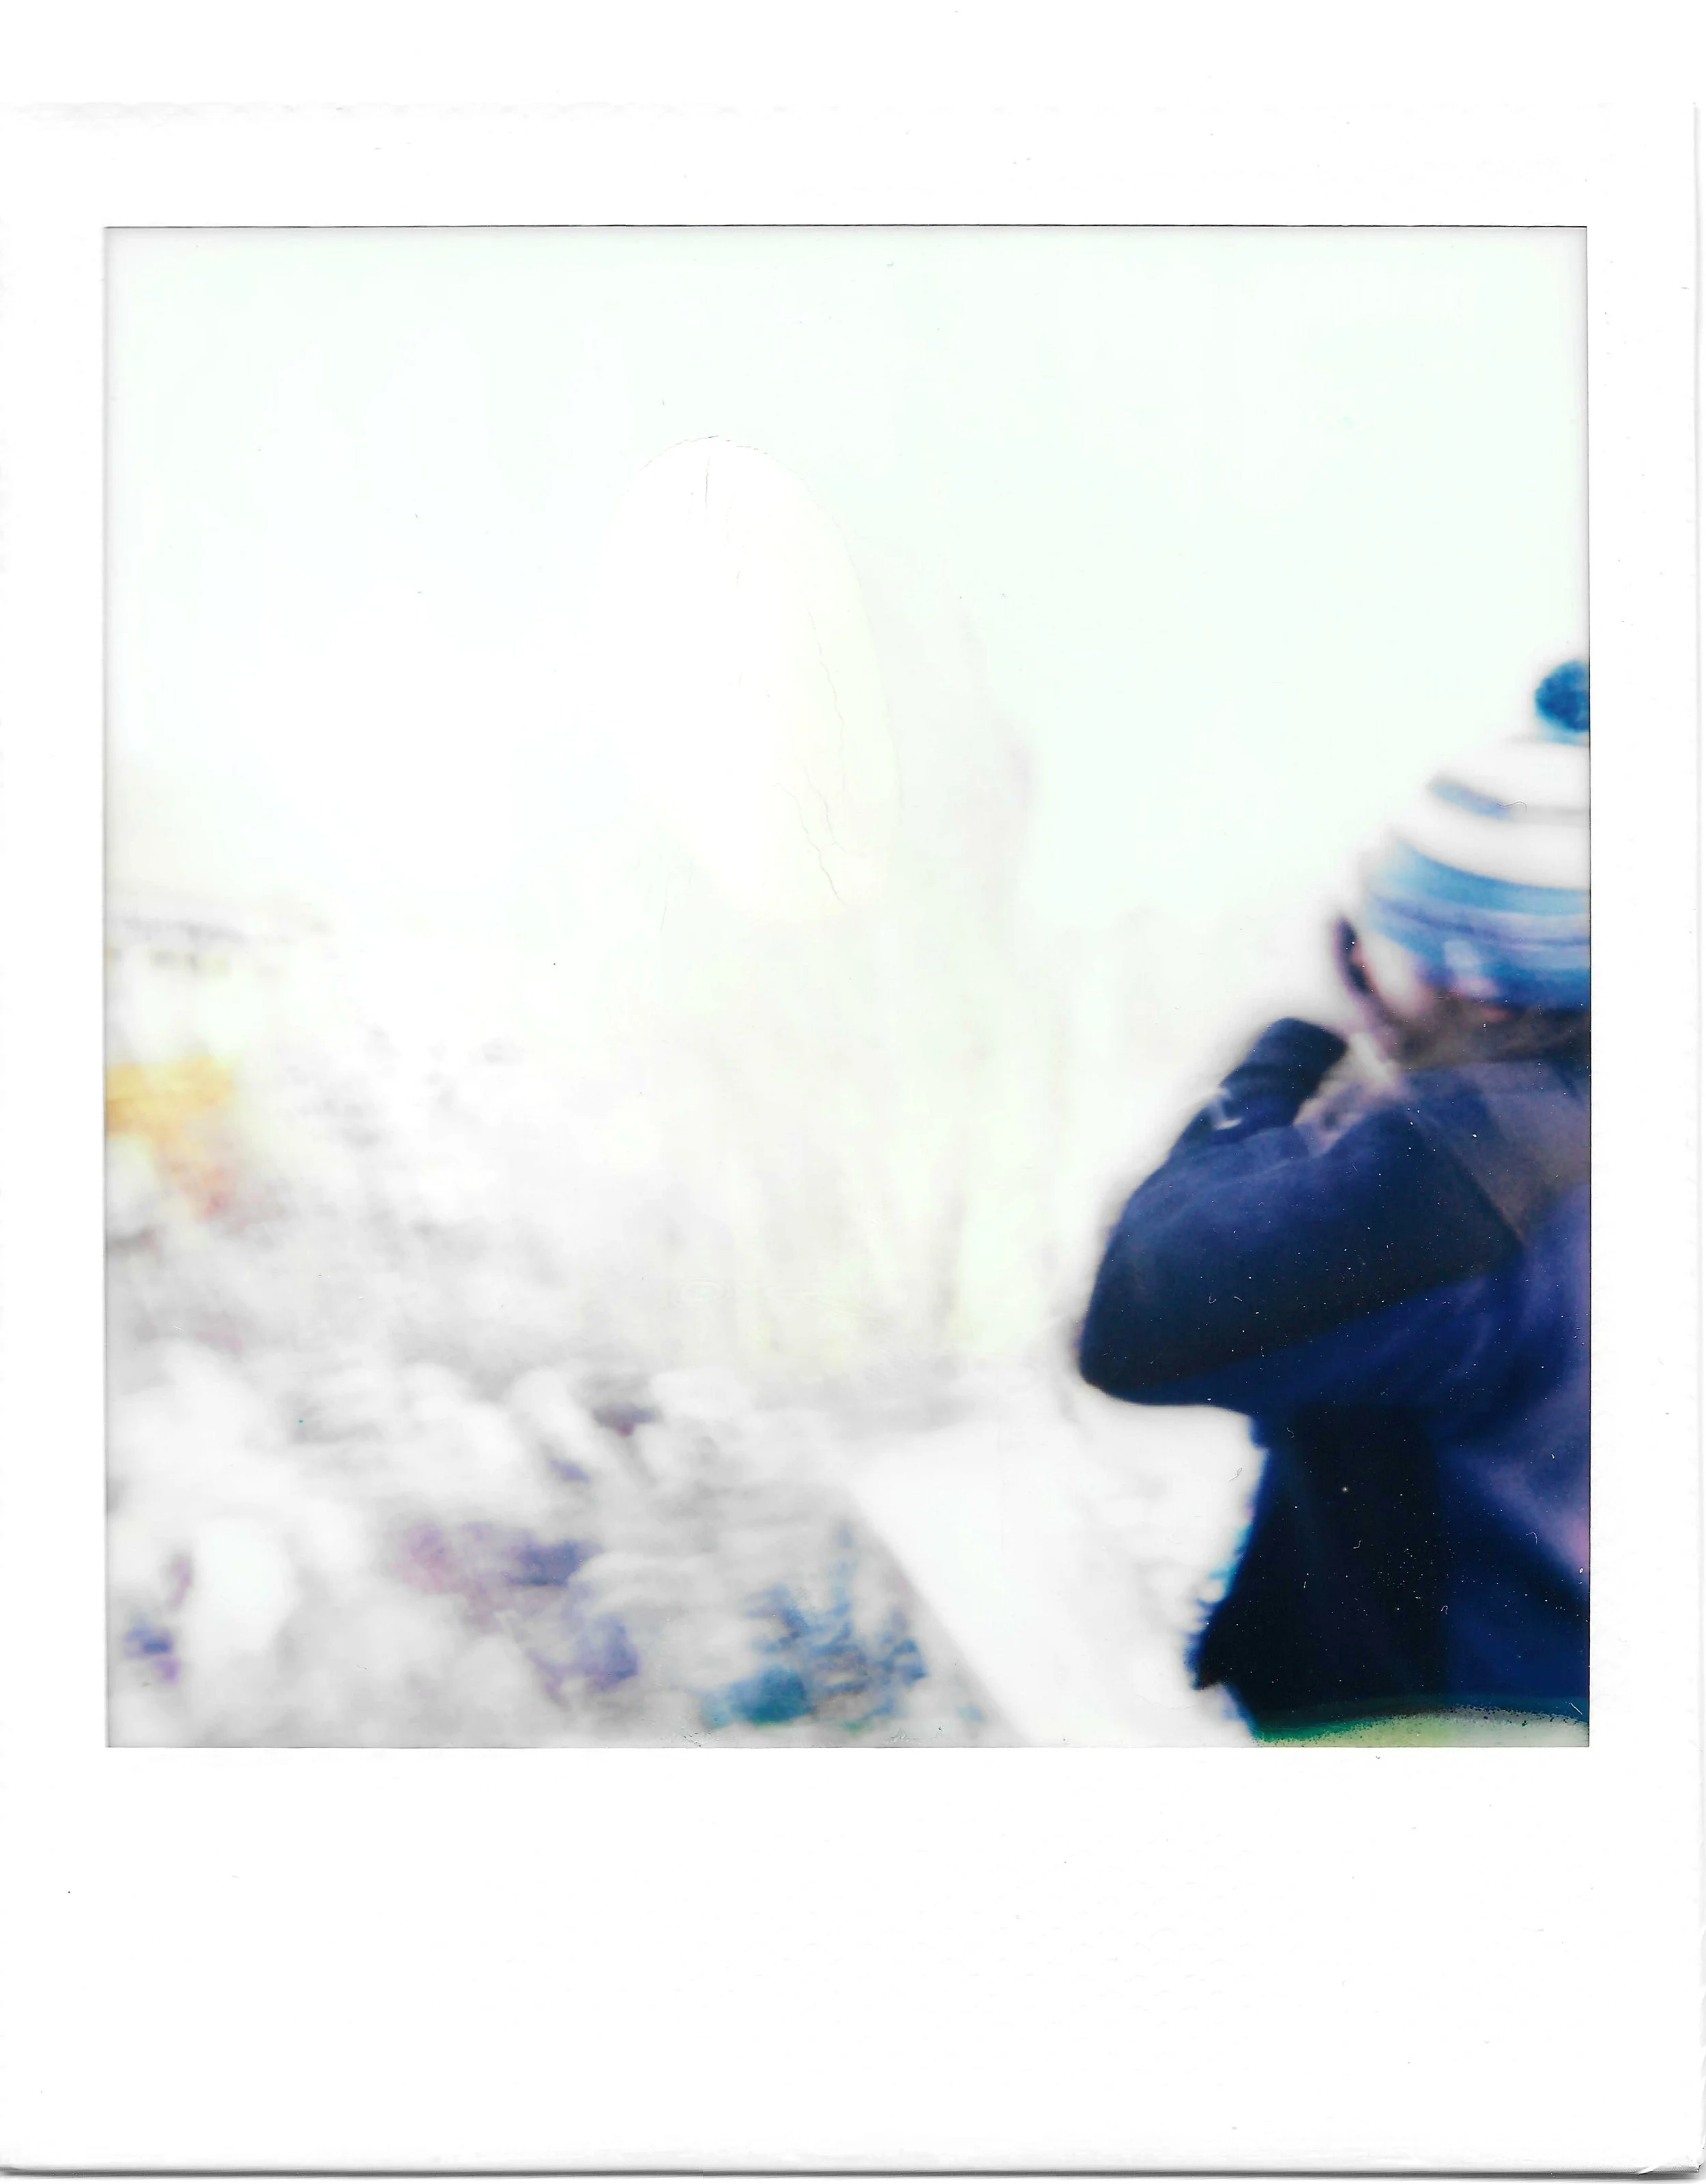
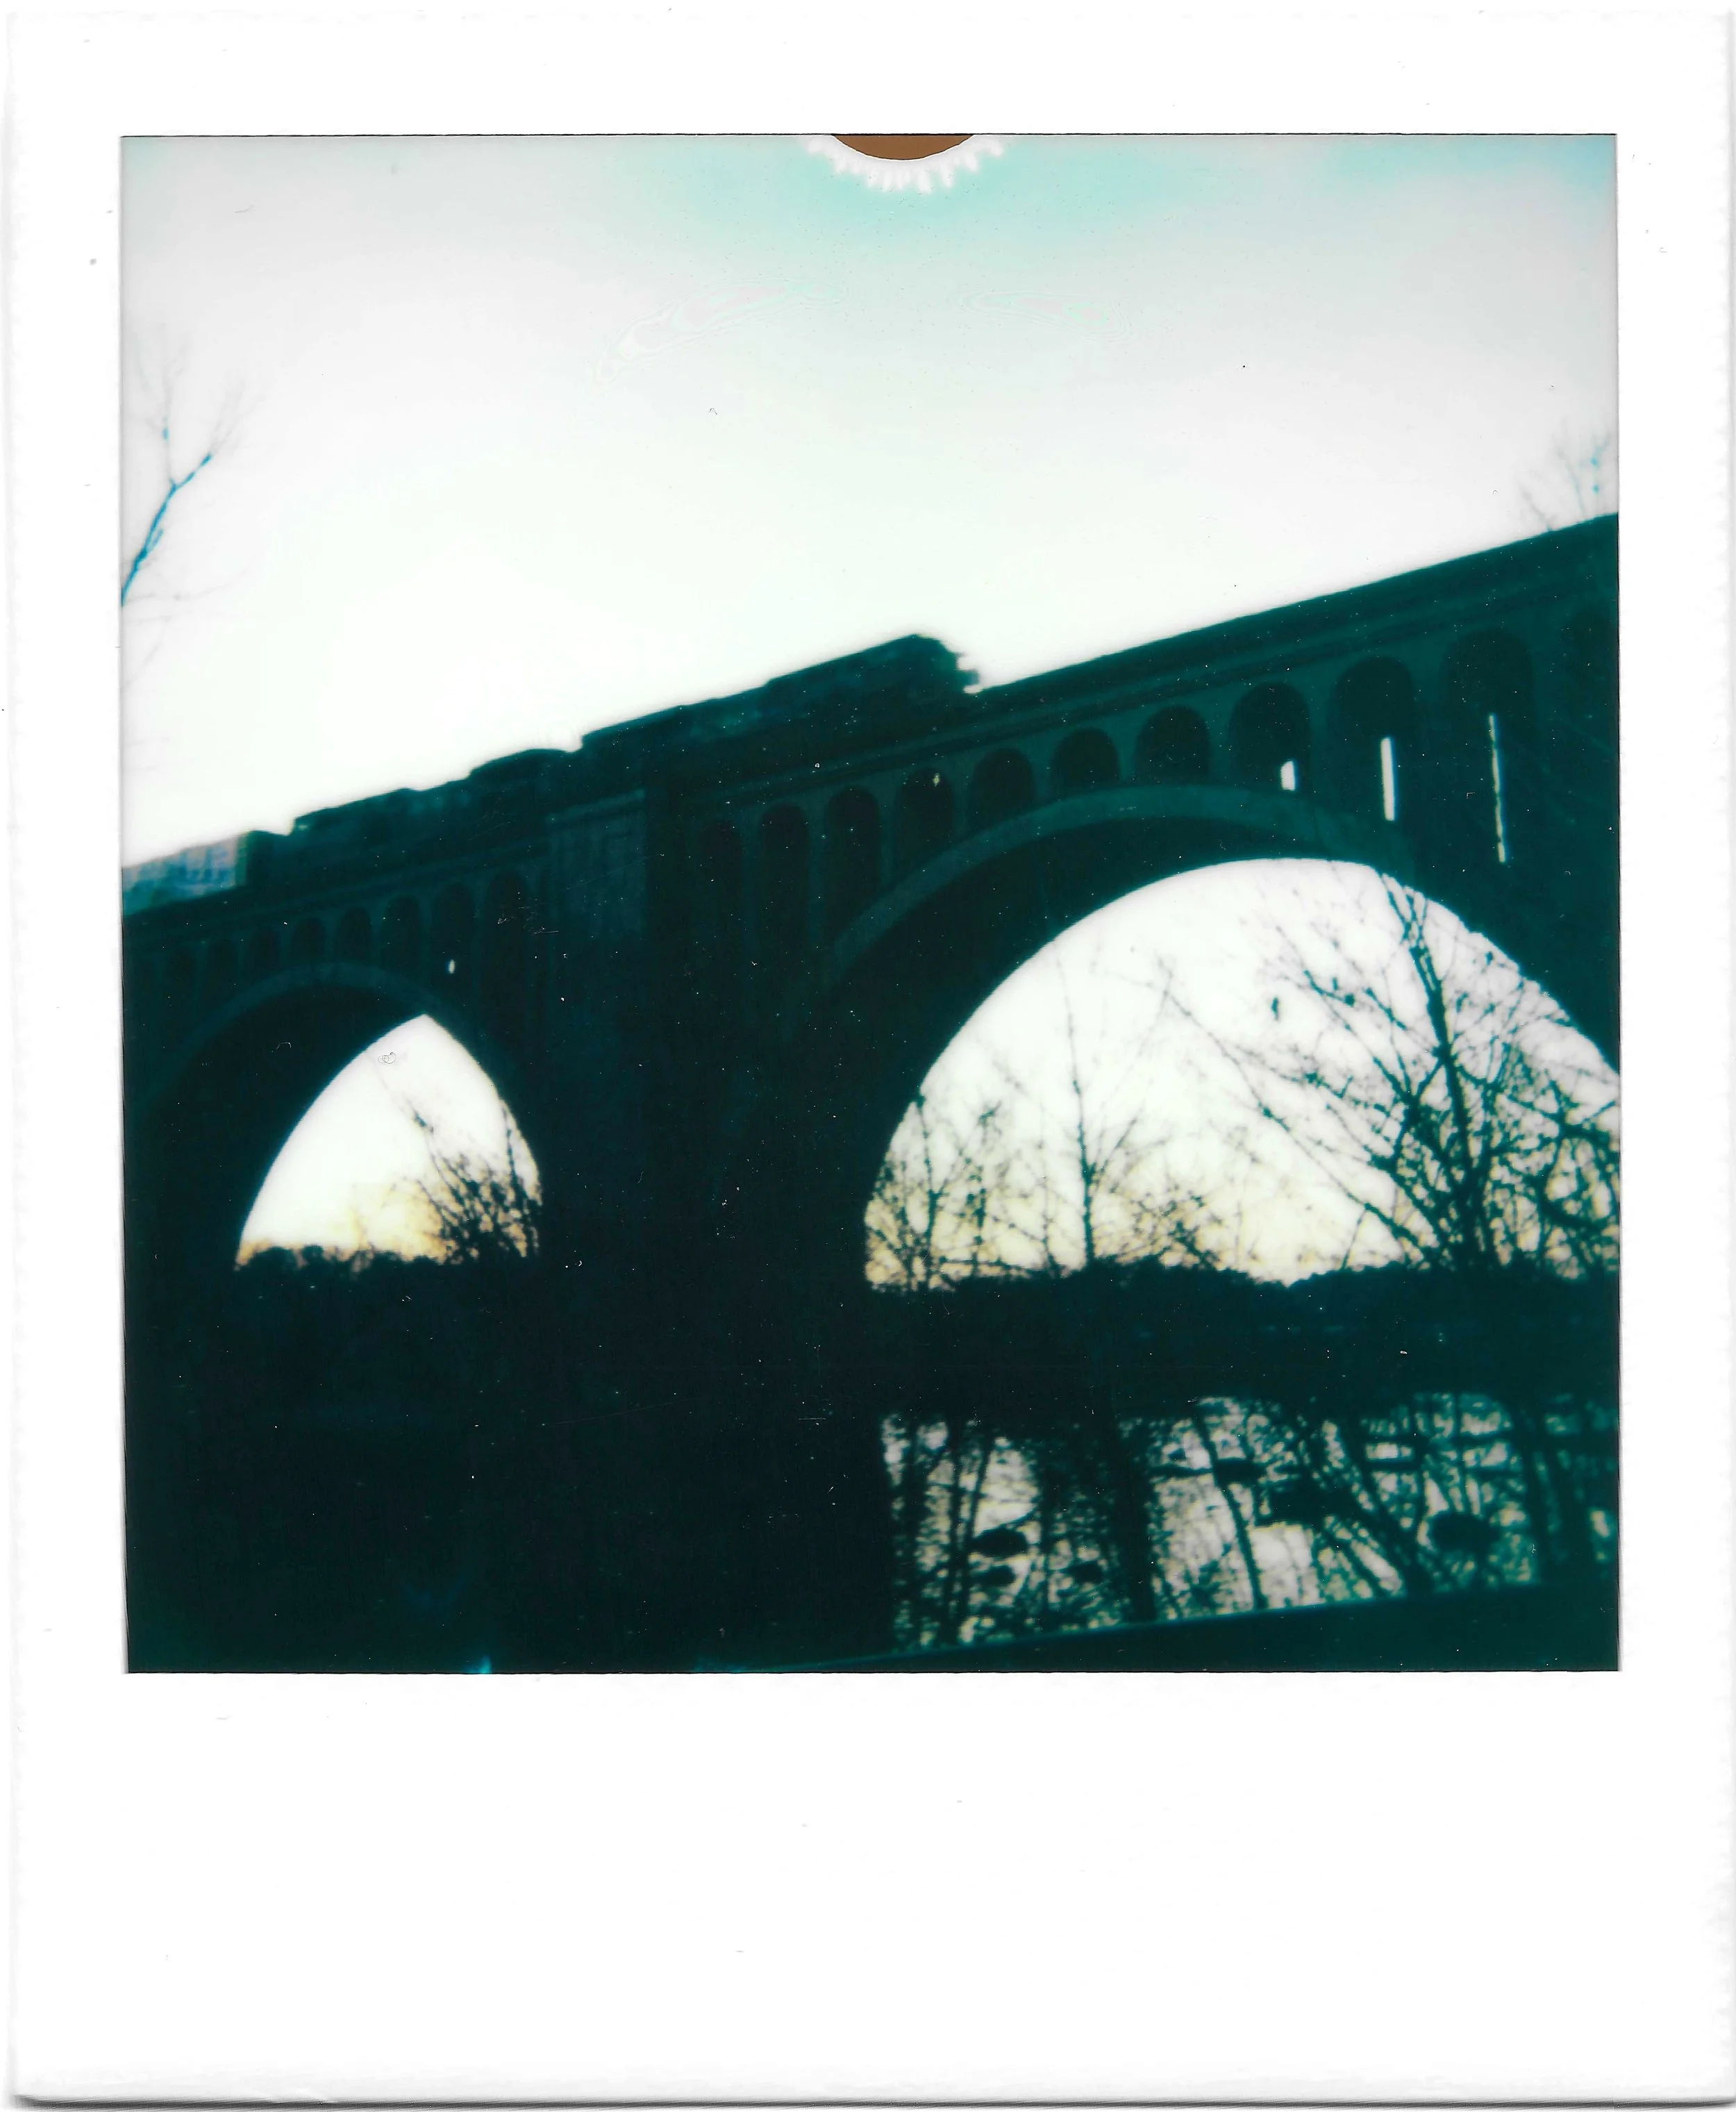
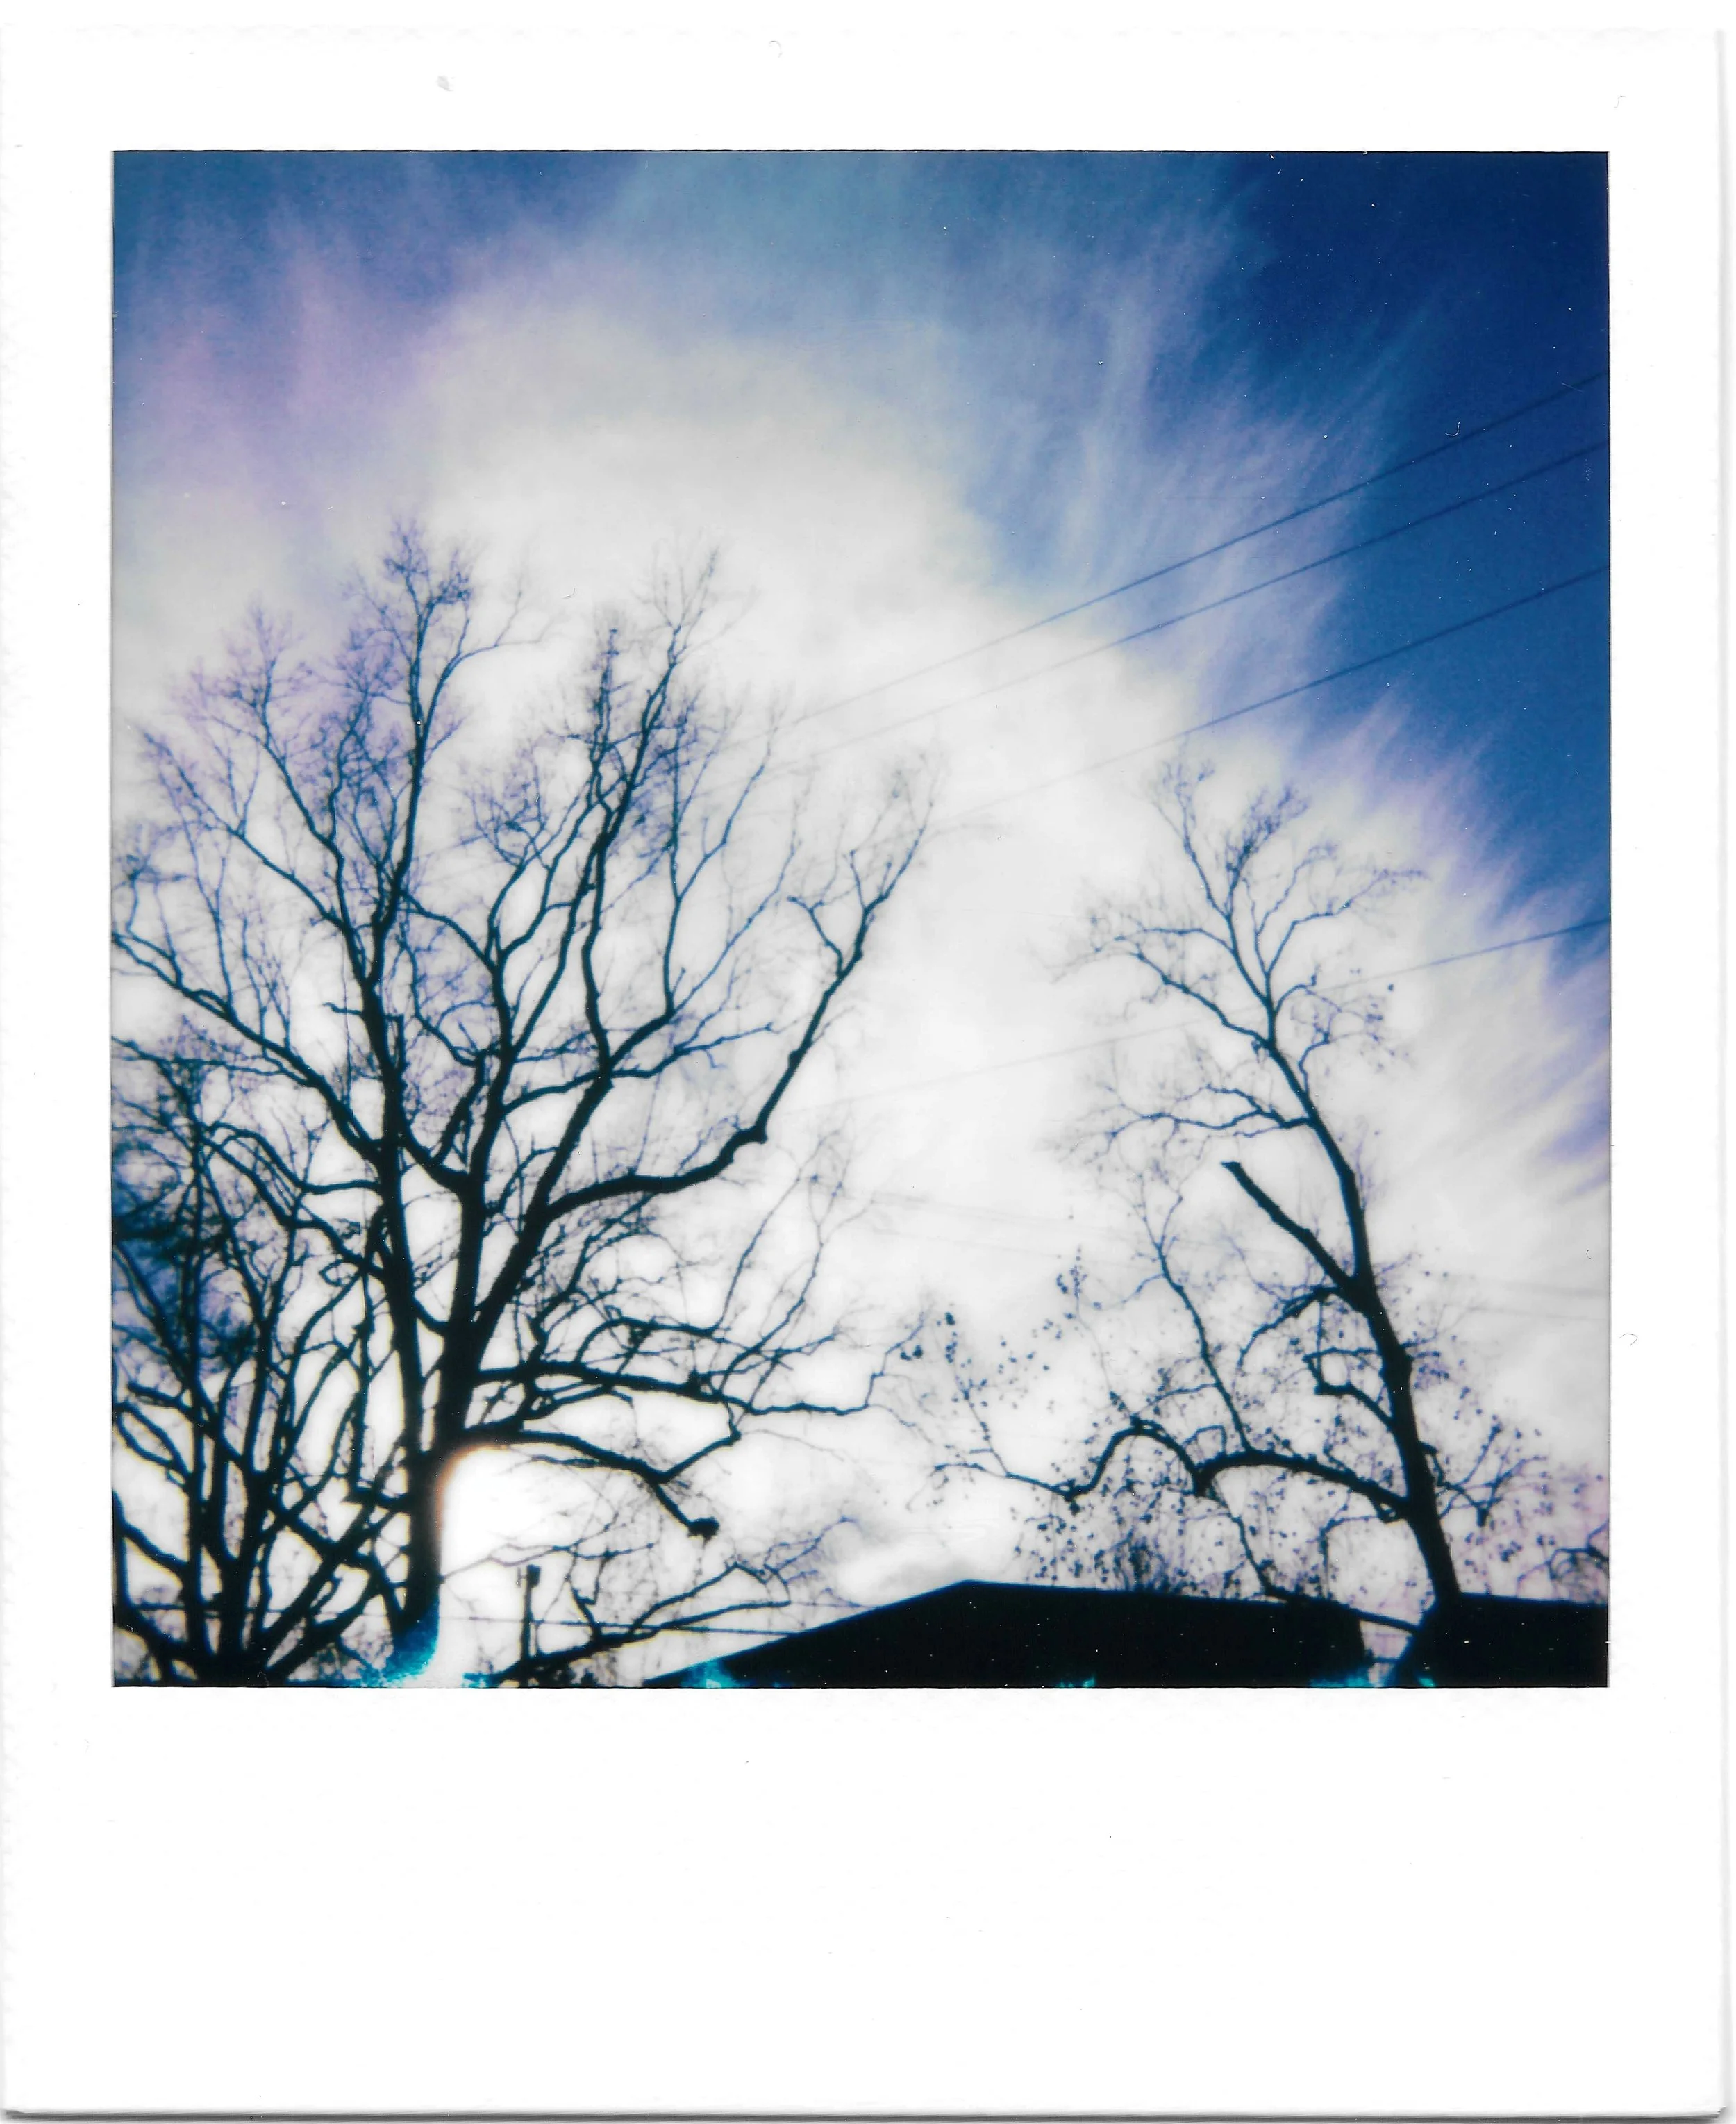
I took it for another walk a little while after to see if I could remember how to guess the light meter settings. Overall I’m pretty happy with the results. One thing I’ve noticed is that is takes about 2-3 days for the film to fully develop. The contrast and colors slowly deepen. It’s fun to keep checking on the images each day. The pinkish/purple in the left photo below showed up on day two. I was hoping there would be more detail in the clouds on the left, but I that may be too much to ask for the lens on this camera.

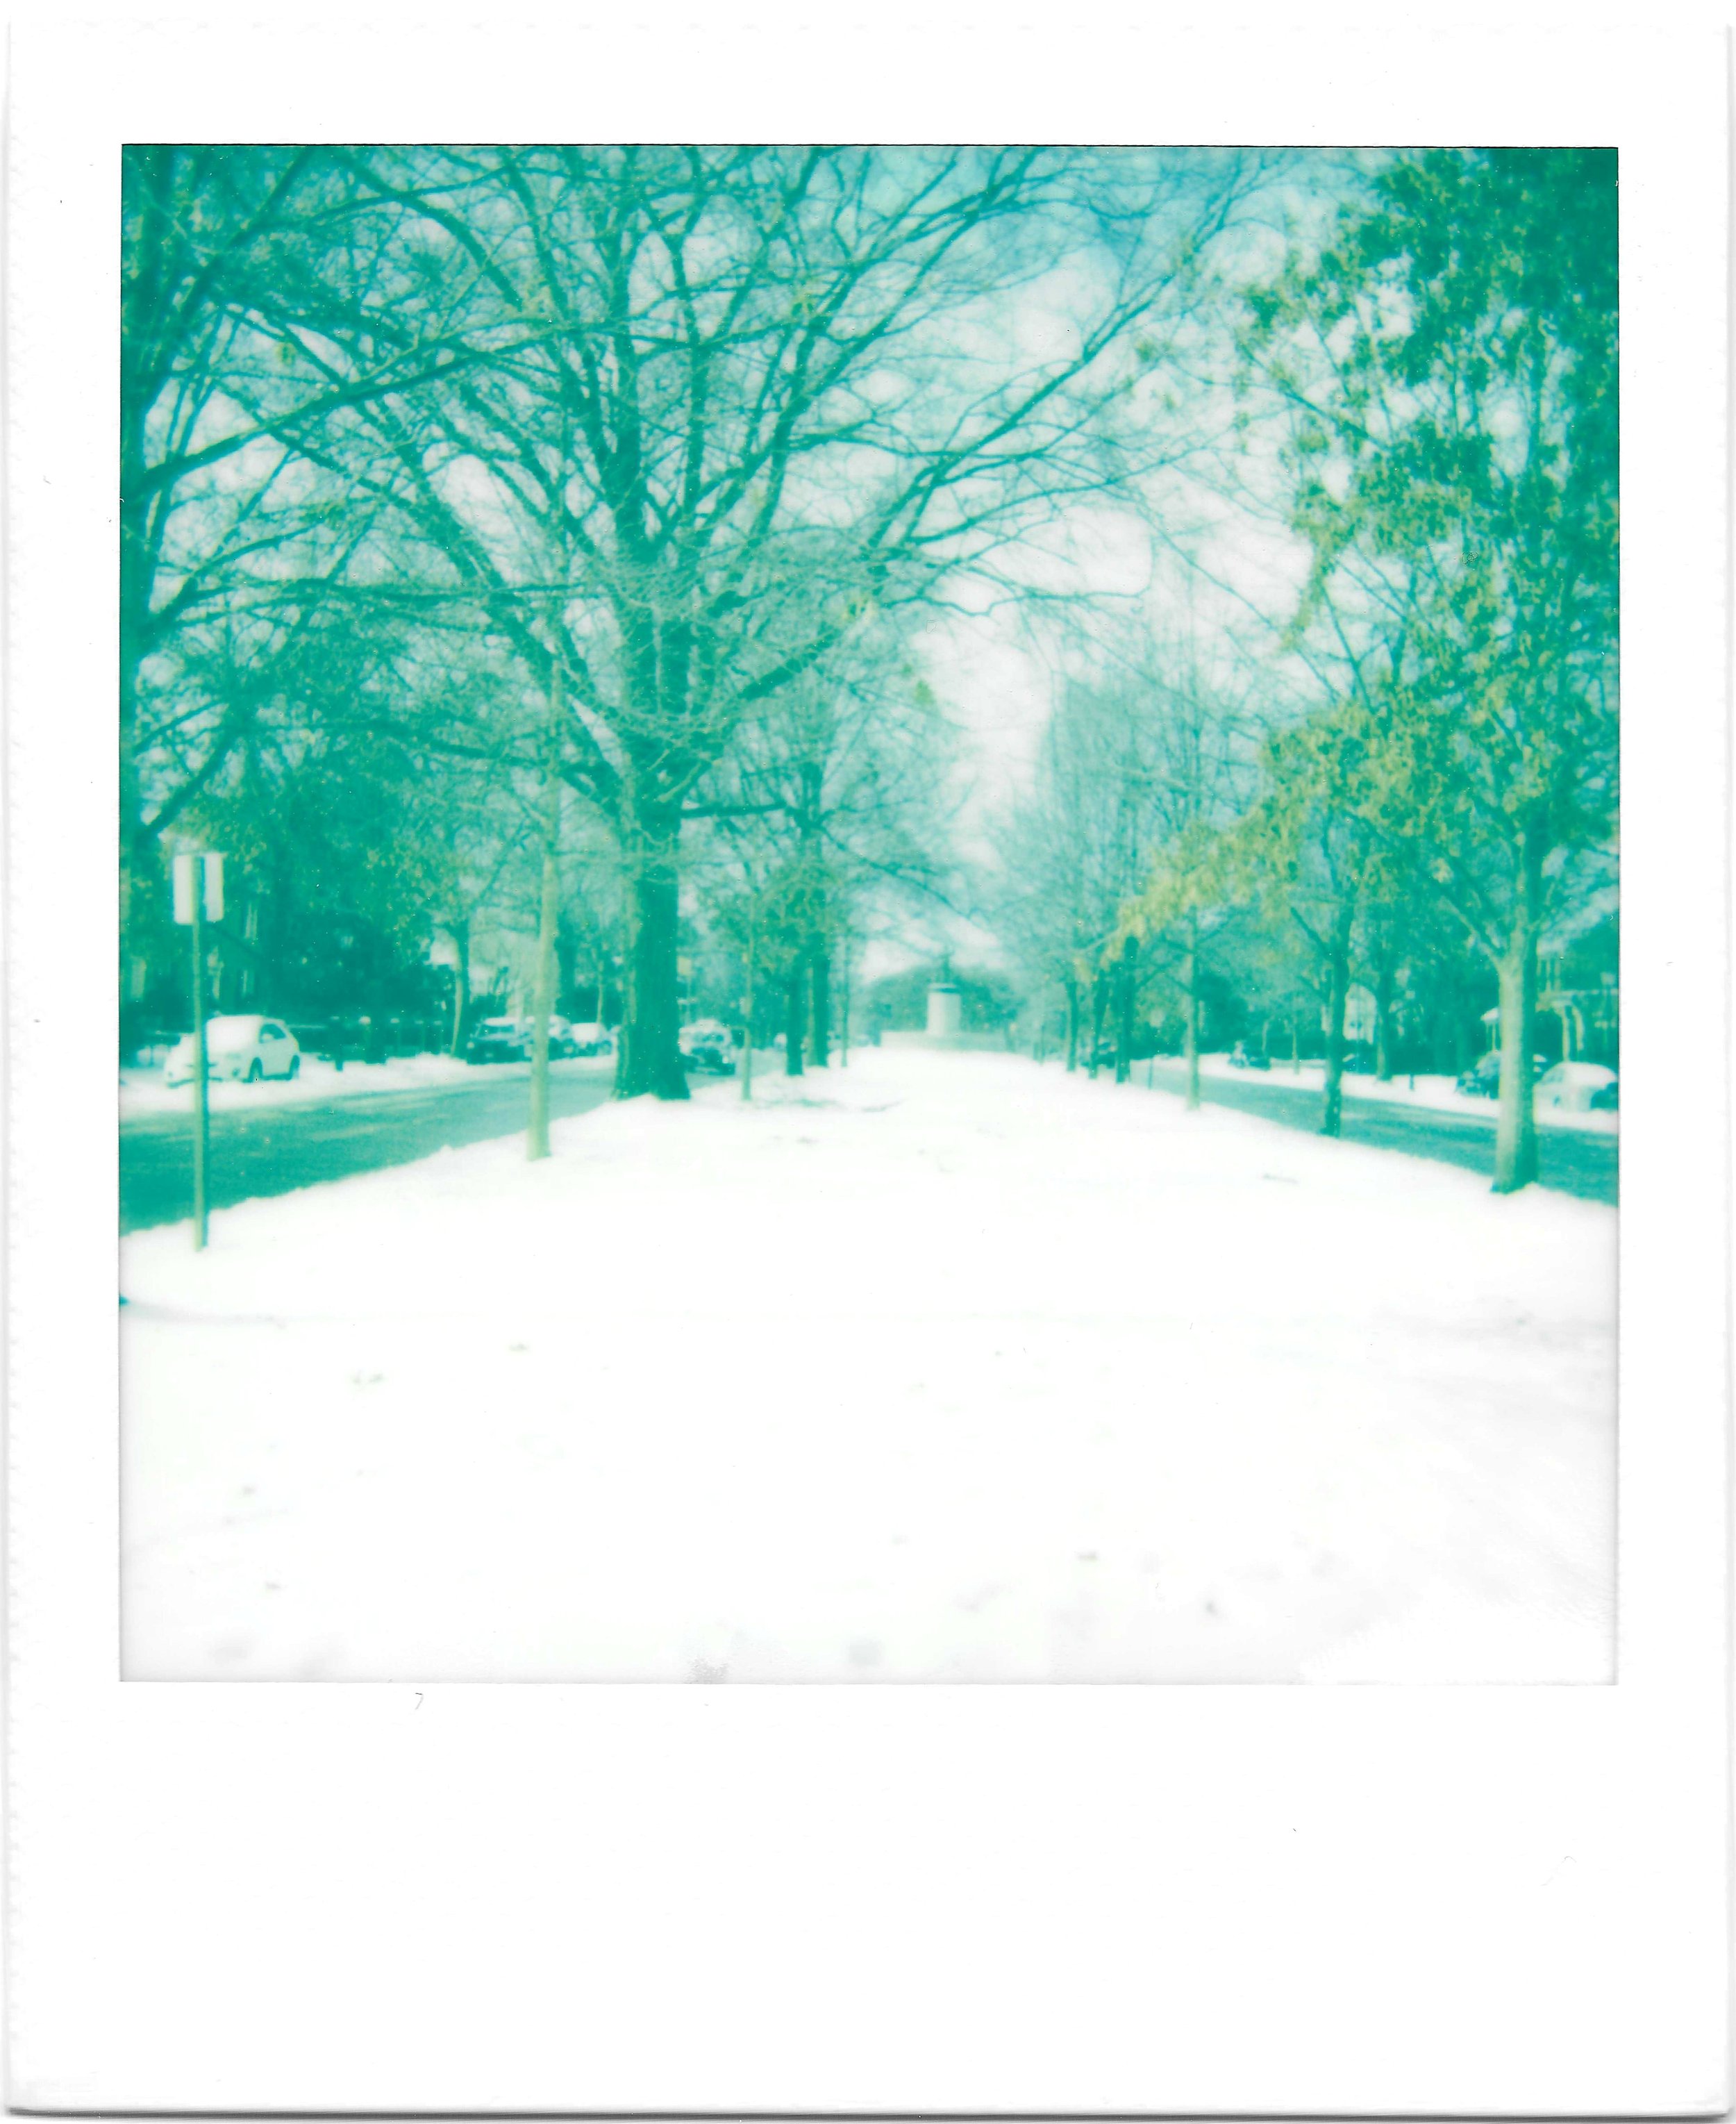
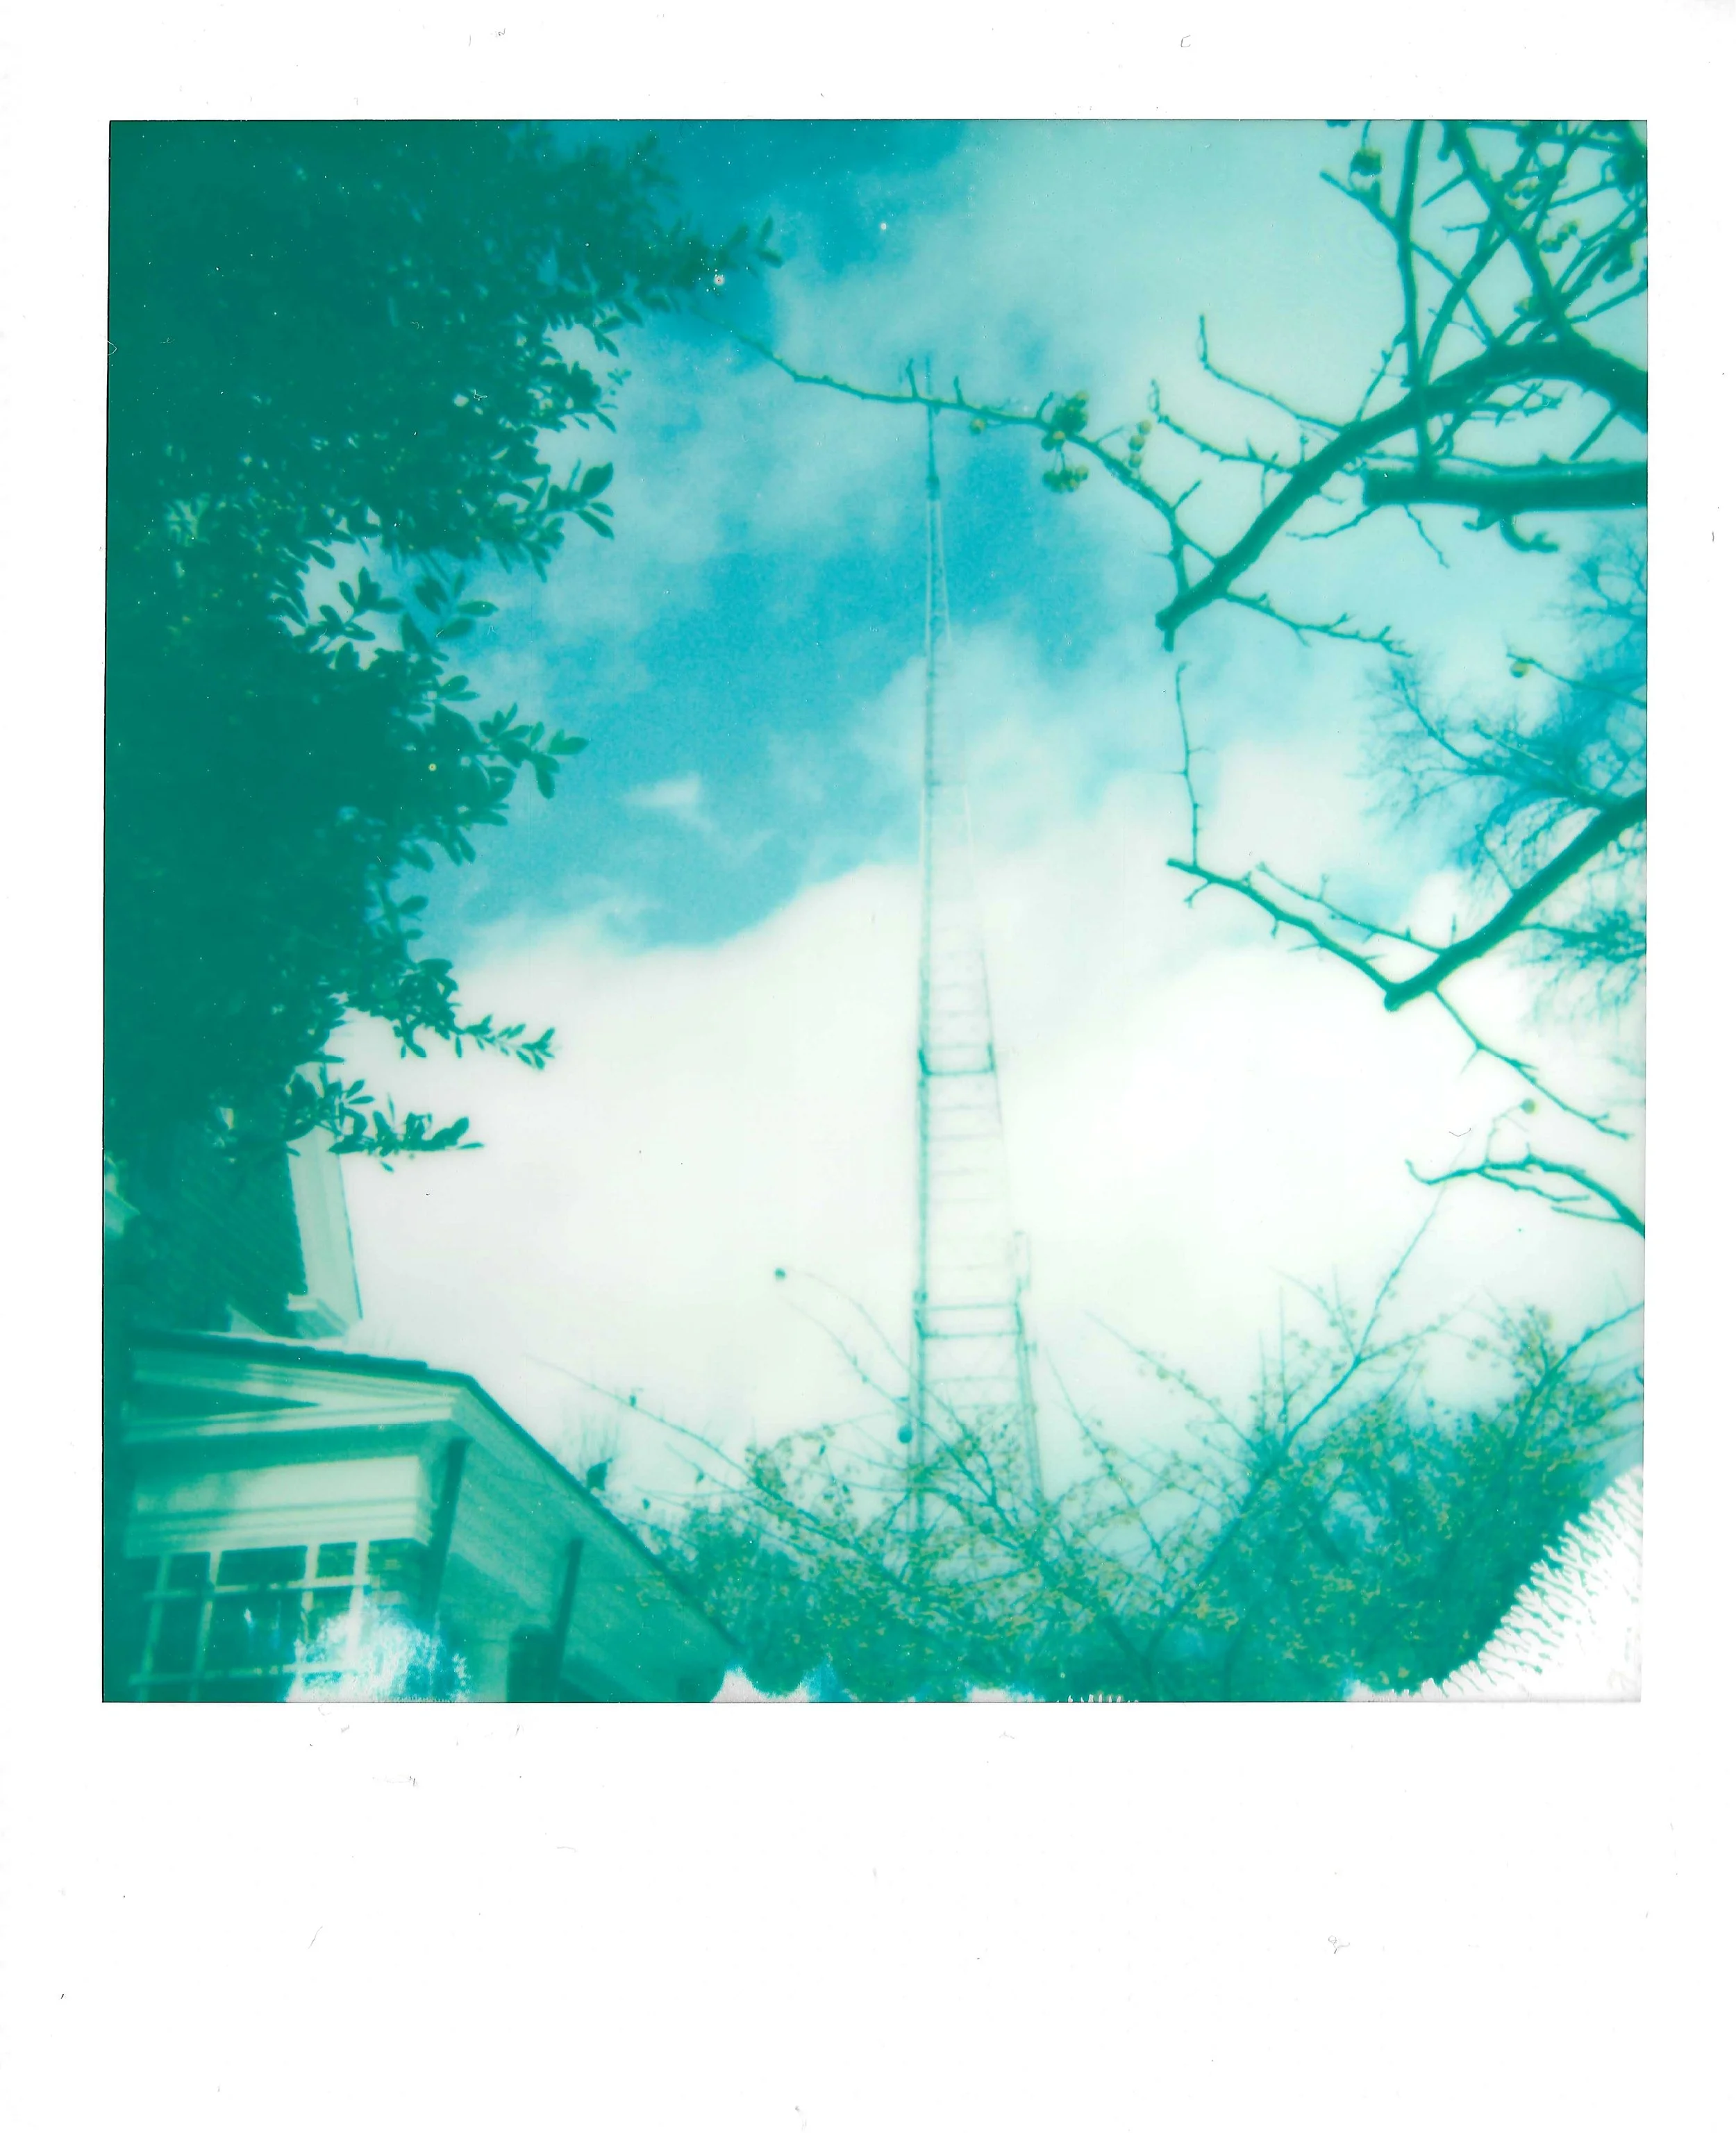
I did one more test before I ran out of film! I took it out in the snow! It was so cold my hands hurt if they were out of my pocket for more than 5 minutes, even with my gloves on. The sidewalks and roads were solid sheets of ice. I very, very slowly and very, very carefully made it to Monument Avenue. It looked beautiful in the snow. I only had two shots left. I took the first photos and shuffled my way back across to take a picture of the radio tower. I checked the first photo as I was putting my last shot in my pocket. It had hardly developed! I had it pretty far on the dark part of the meter, so I knew it wouldn’t be overexposed in normal temperatures. I started the trek back across the ice, hoping my body heat would help the photos develop. Over the next few days more detail came through thankfully! When film is too cold, it can get a blue tint and have lower contrast. I think it’s interesting how it looks over- and underexposed at the same time. Maybe I’ll try to underexpose it next time I take it out in below freezing temperatures. I can’t wait to keep testing the camera out in different environments!